The KingDude’s Sweet -N- Fire Barbecue Pork Ribs
Mike Church
24/07/2024
This is a variation of Mike’s 2-2-1 St Louis Style Pork Ribs Recipe!
Reviews
Ingredients:
Adjust Servings
| 2 Slabs St Louis Style or Spare Rib You can use either style of ribs; St Louis style are nearly trimmed and ready to use. | |
| 1/2Cup Mike Church's Beast & Butt Rub Approximate amount | |
| 1/2Cup Light Brown Sugar | |
| 1 1/4 cup Yellow Mustard | |
| 1 1/4 cup Olive Oil | |
| 1 Stick Real unsalted butter | |
| 1 cup Brown Sugar | |
| 1 1/2 cup Local Natural Honey | |
| 1 Cup Sweet Baby Rays BBQ Sauce You can use your favorite BBQ sauce | |
| 1 Tablespoon You can use any brand of hot sauce you like just be careful with the amount used, adding too much makes your sauce work against the flavors the Beast & Butt Rub features. |
Suggested Cooking Supplies
| 2 cuts 18-24 inches long Chefs Parchment Paper You can substitute aluminum foil |
Directions
1.

Prep The Ribs
BEFORE BEGINNING: Mix the 1/2 Cup of Beast & Butt Rub and 1/2 Cup of Light Brown Sugar and combine using a fork to crush the larger clumps of sugar. This is now the Beast & Butt Rub used throughout the rest of the recipe!
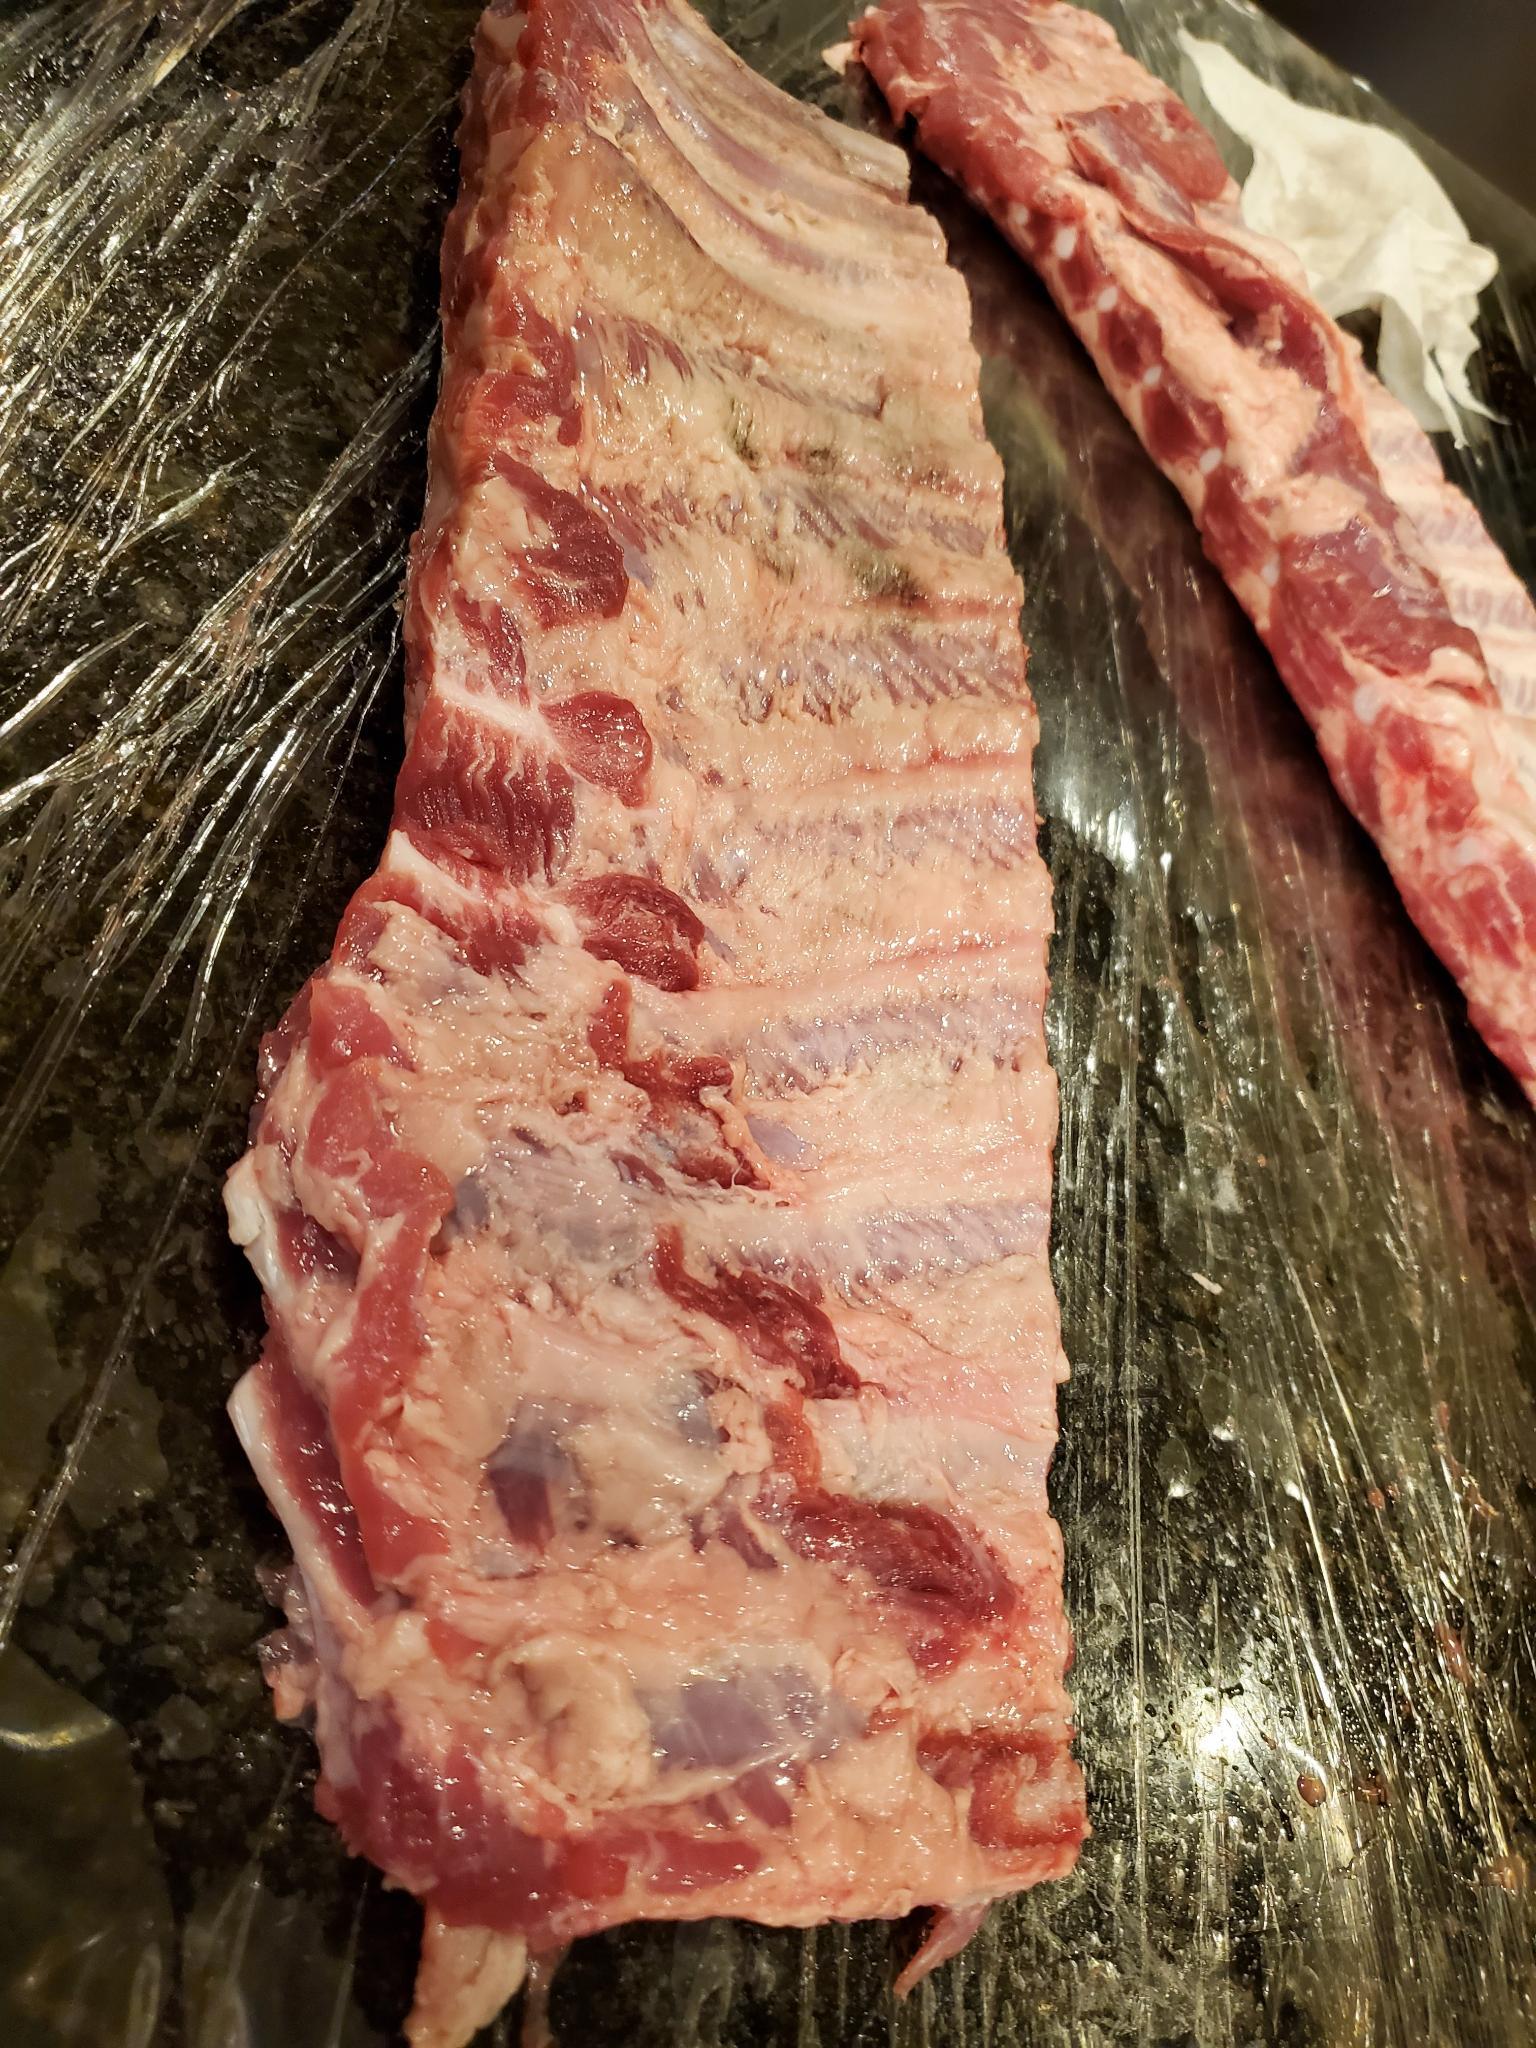
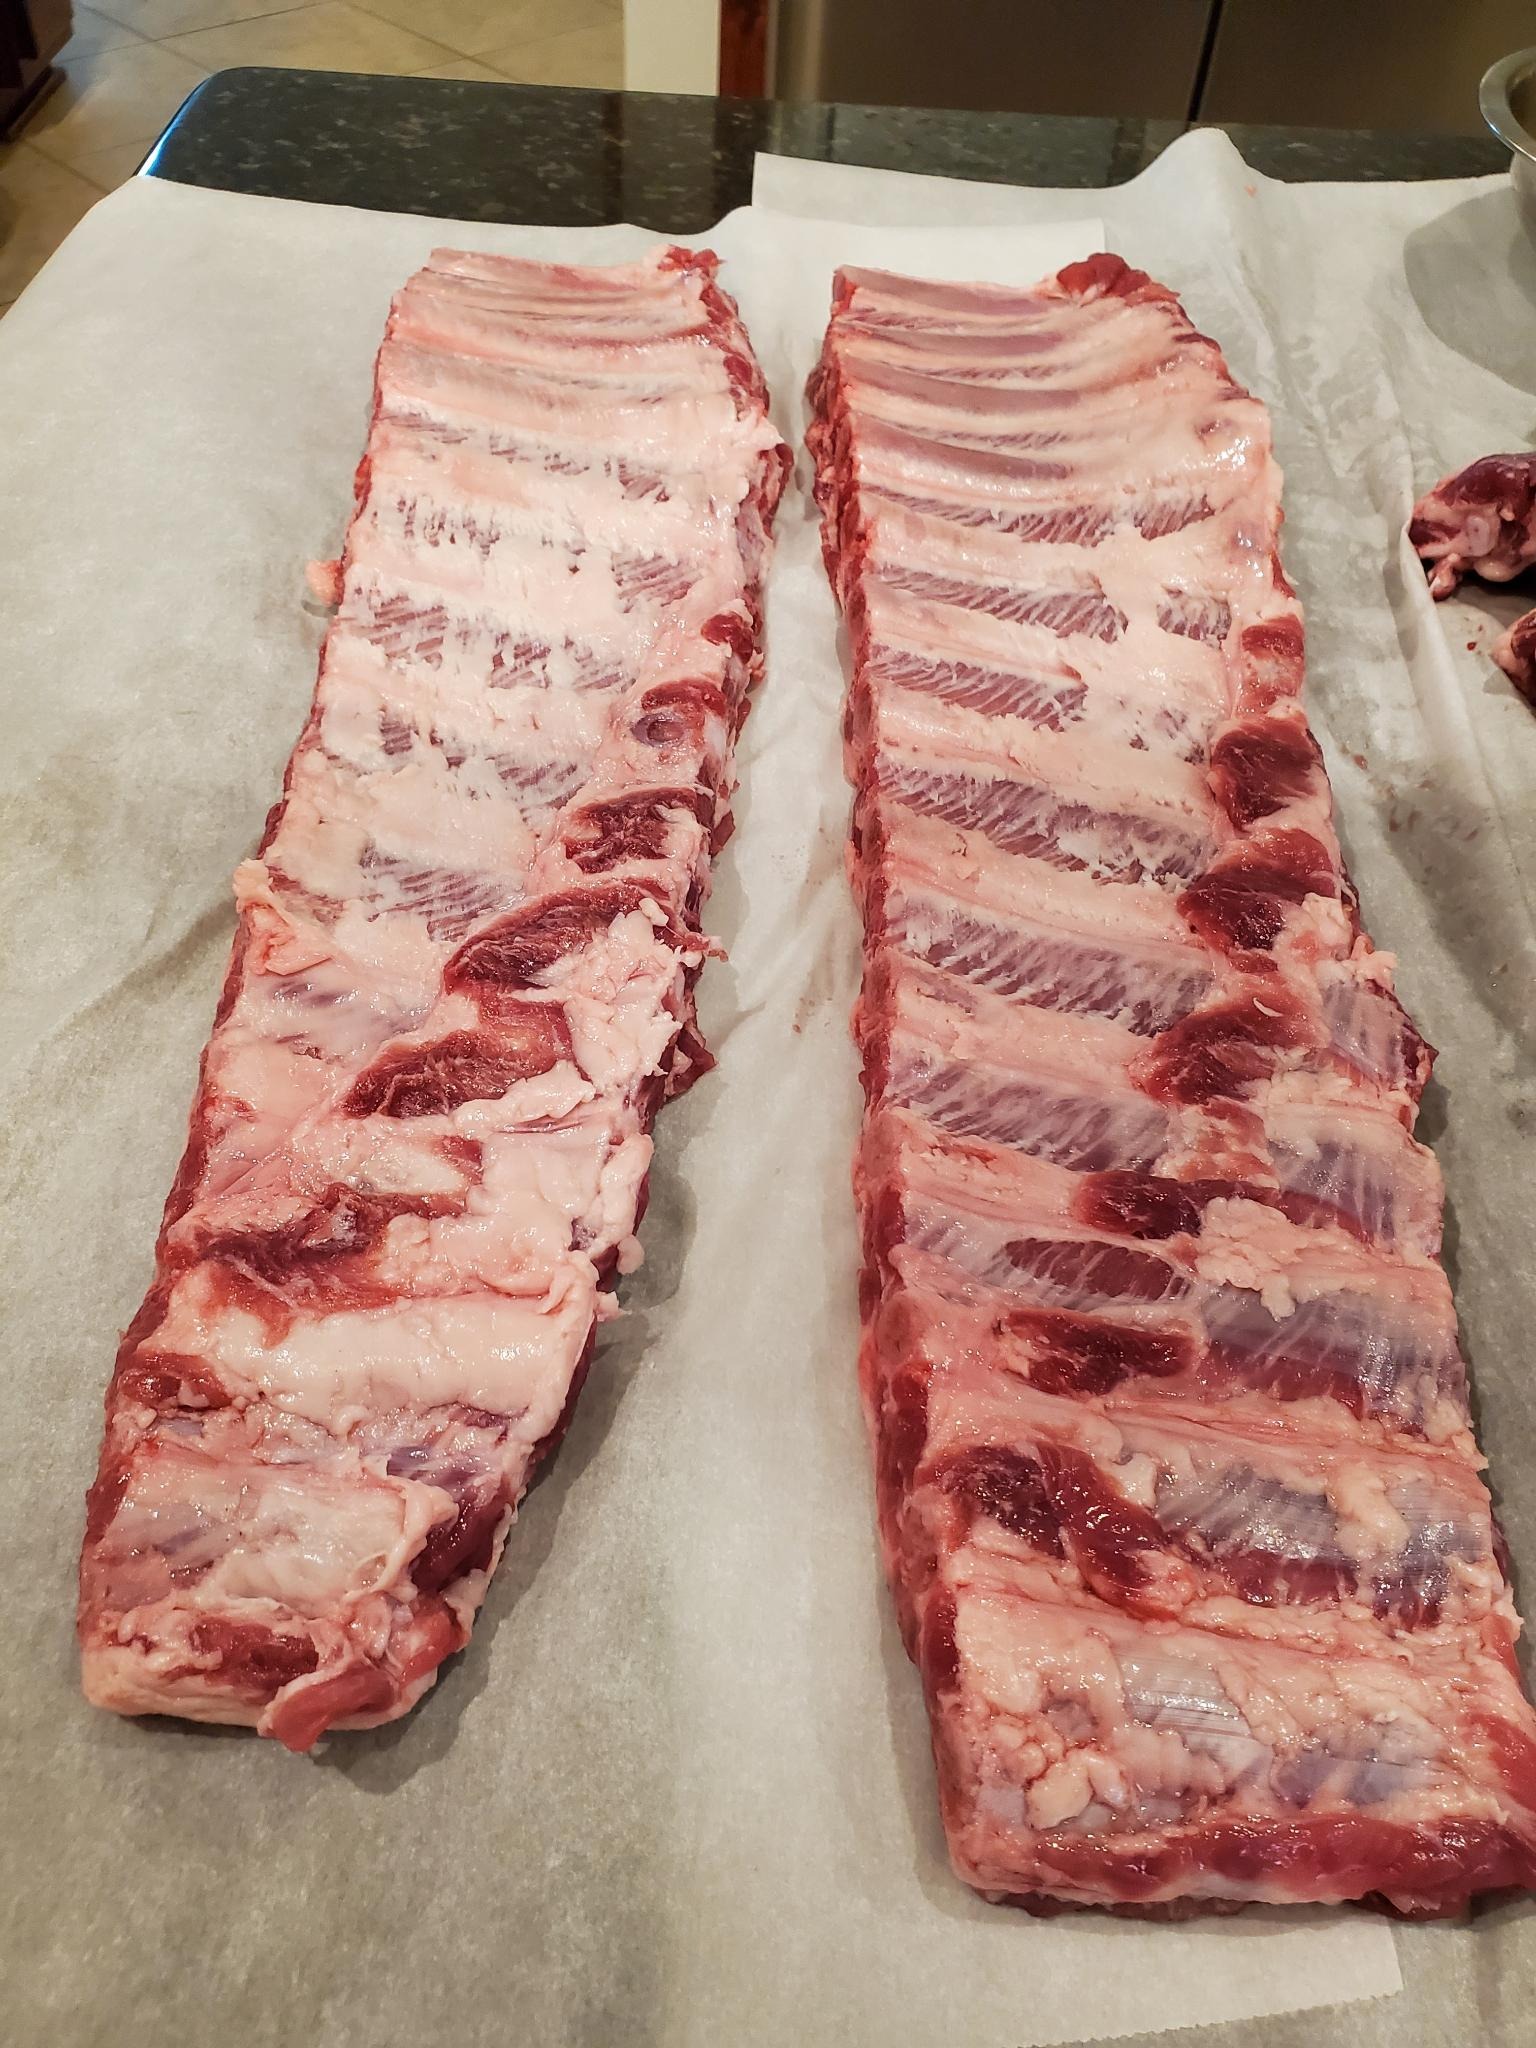
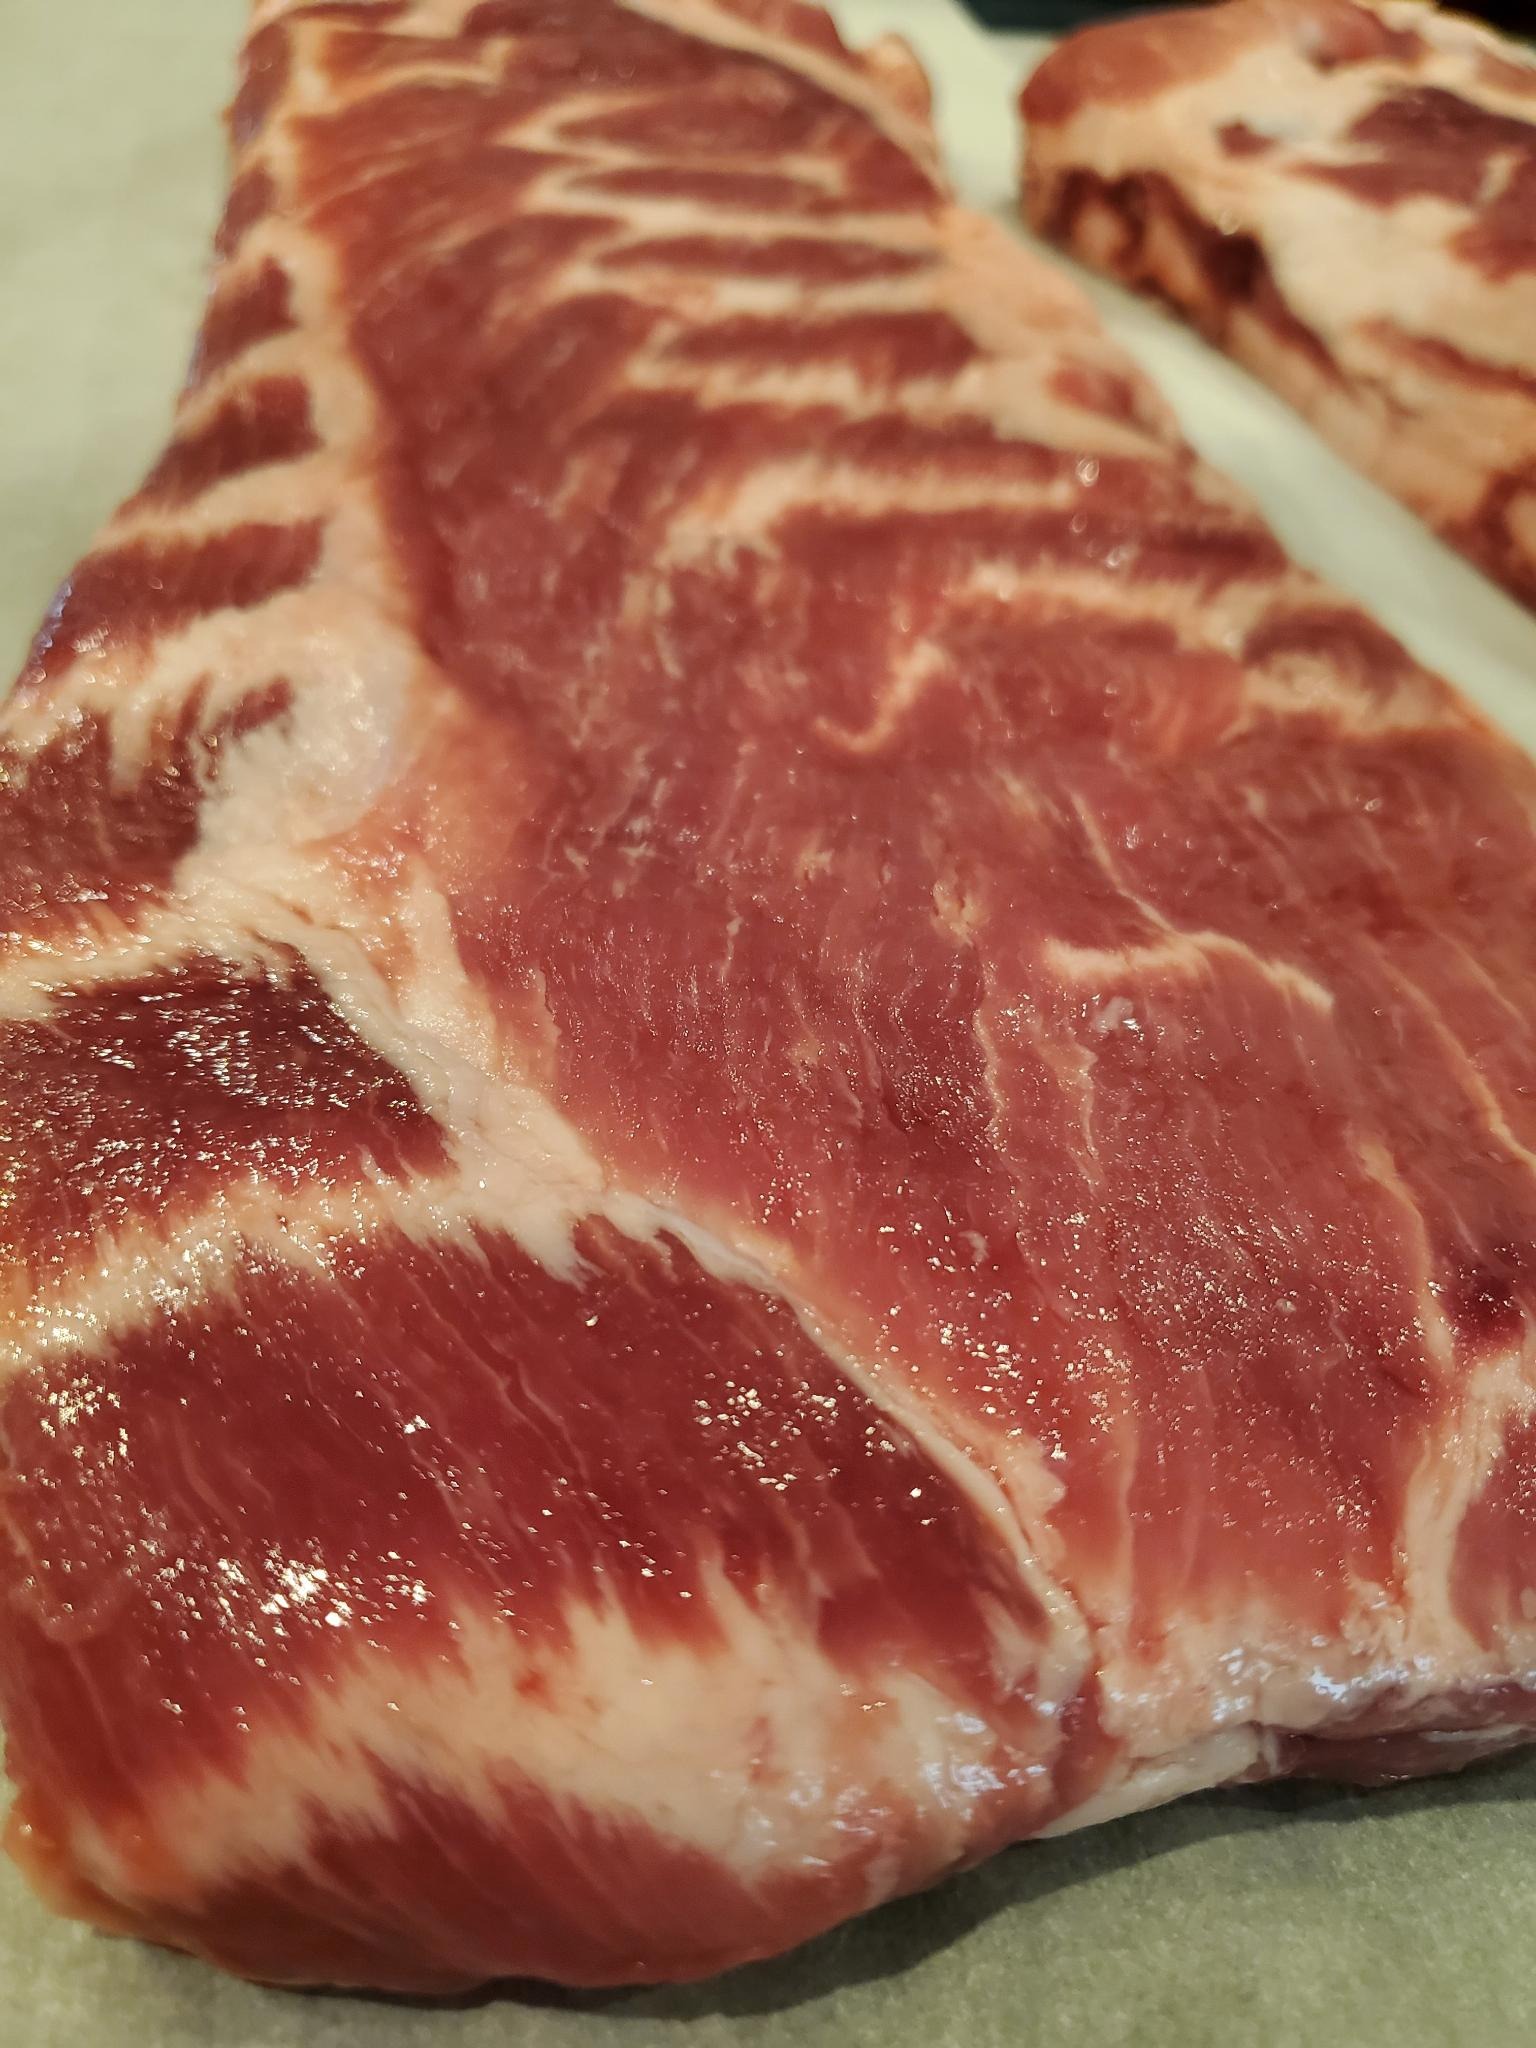
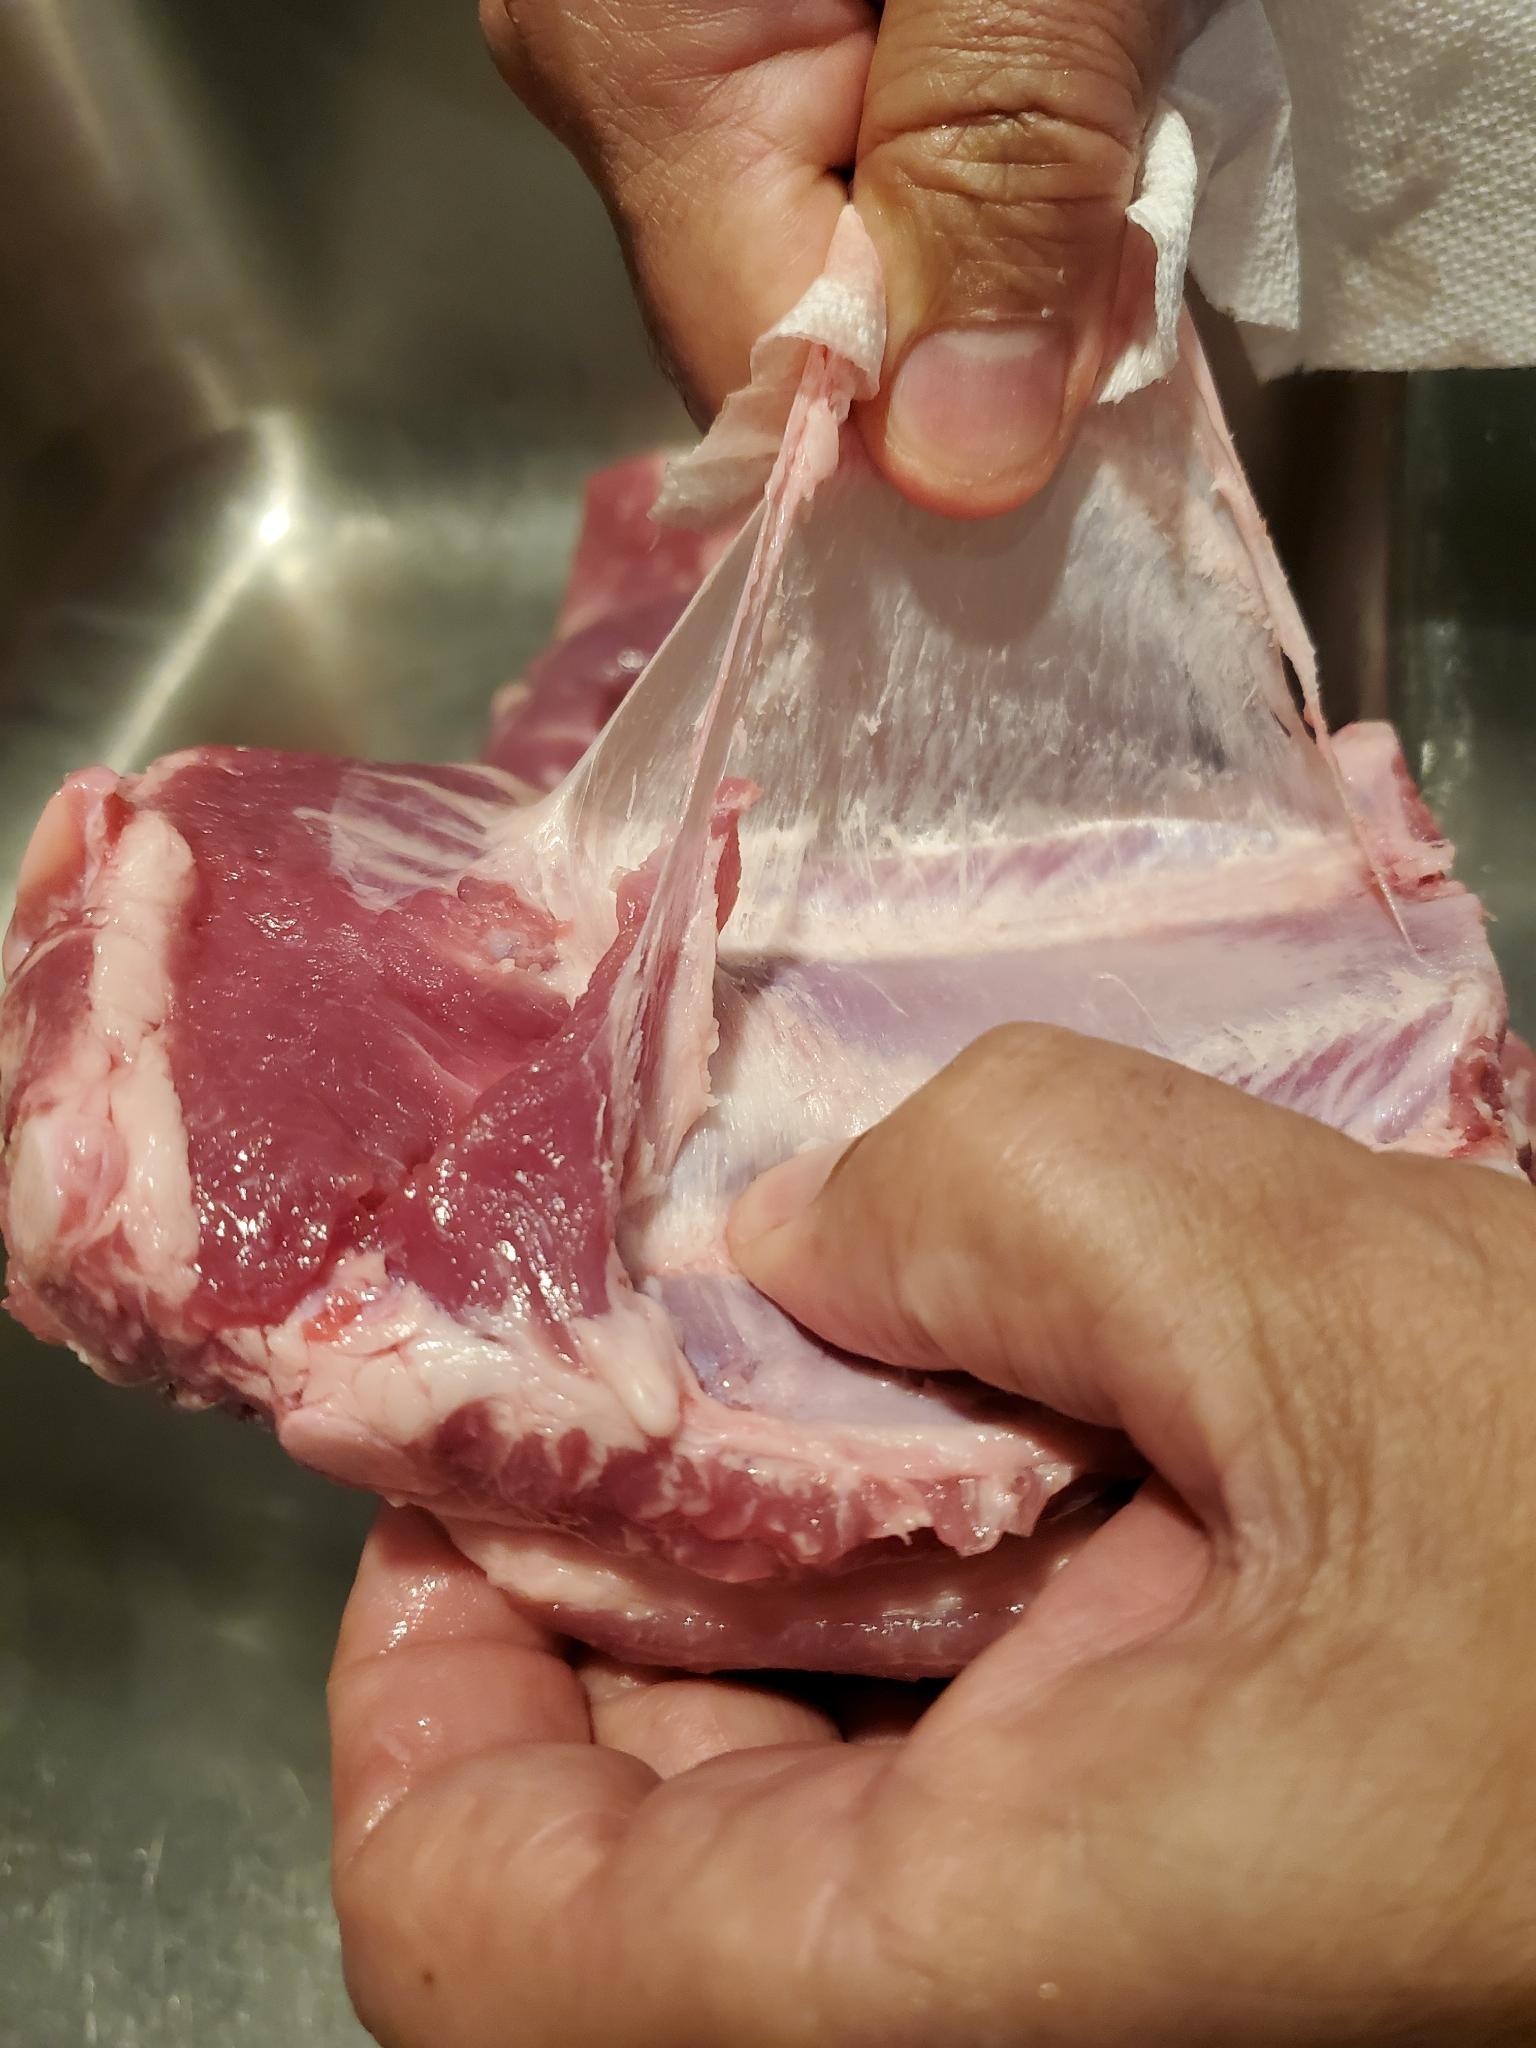
Strip the cavity side membrane off of the ribs using a paper towel to grab the membrane from the widest side of the ribs down to the thinnest side.
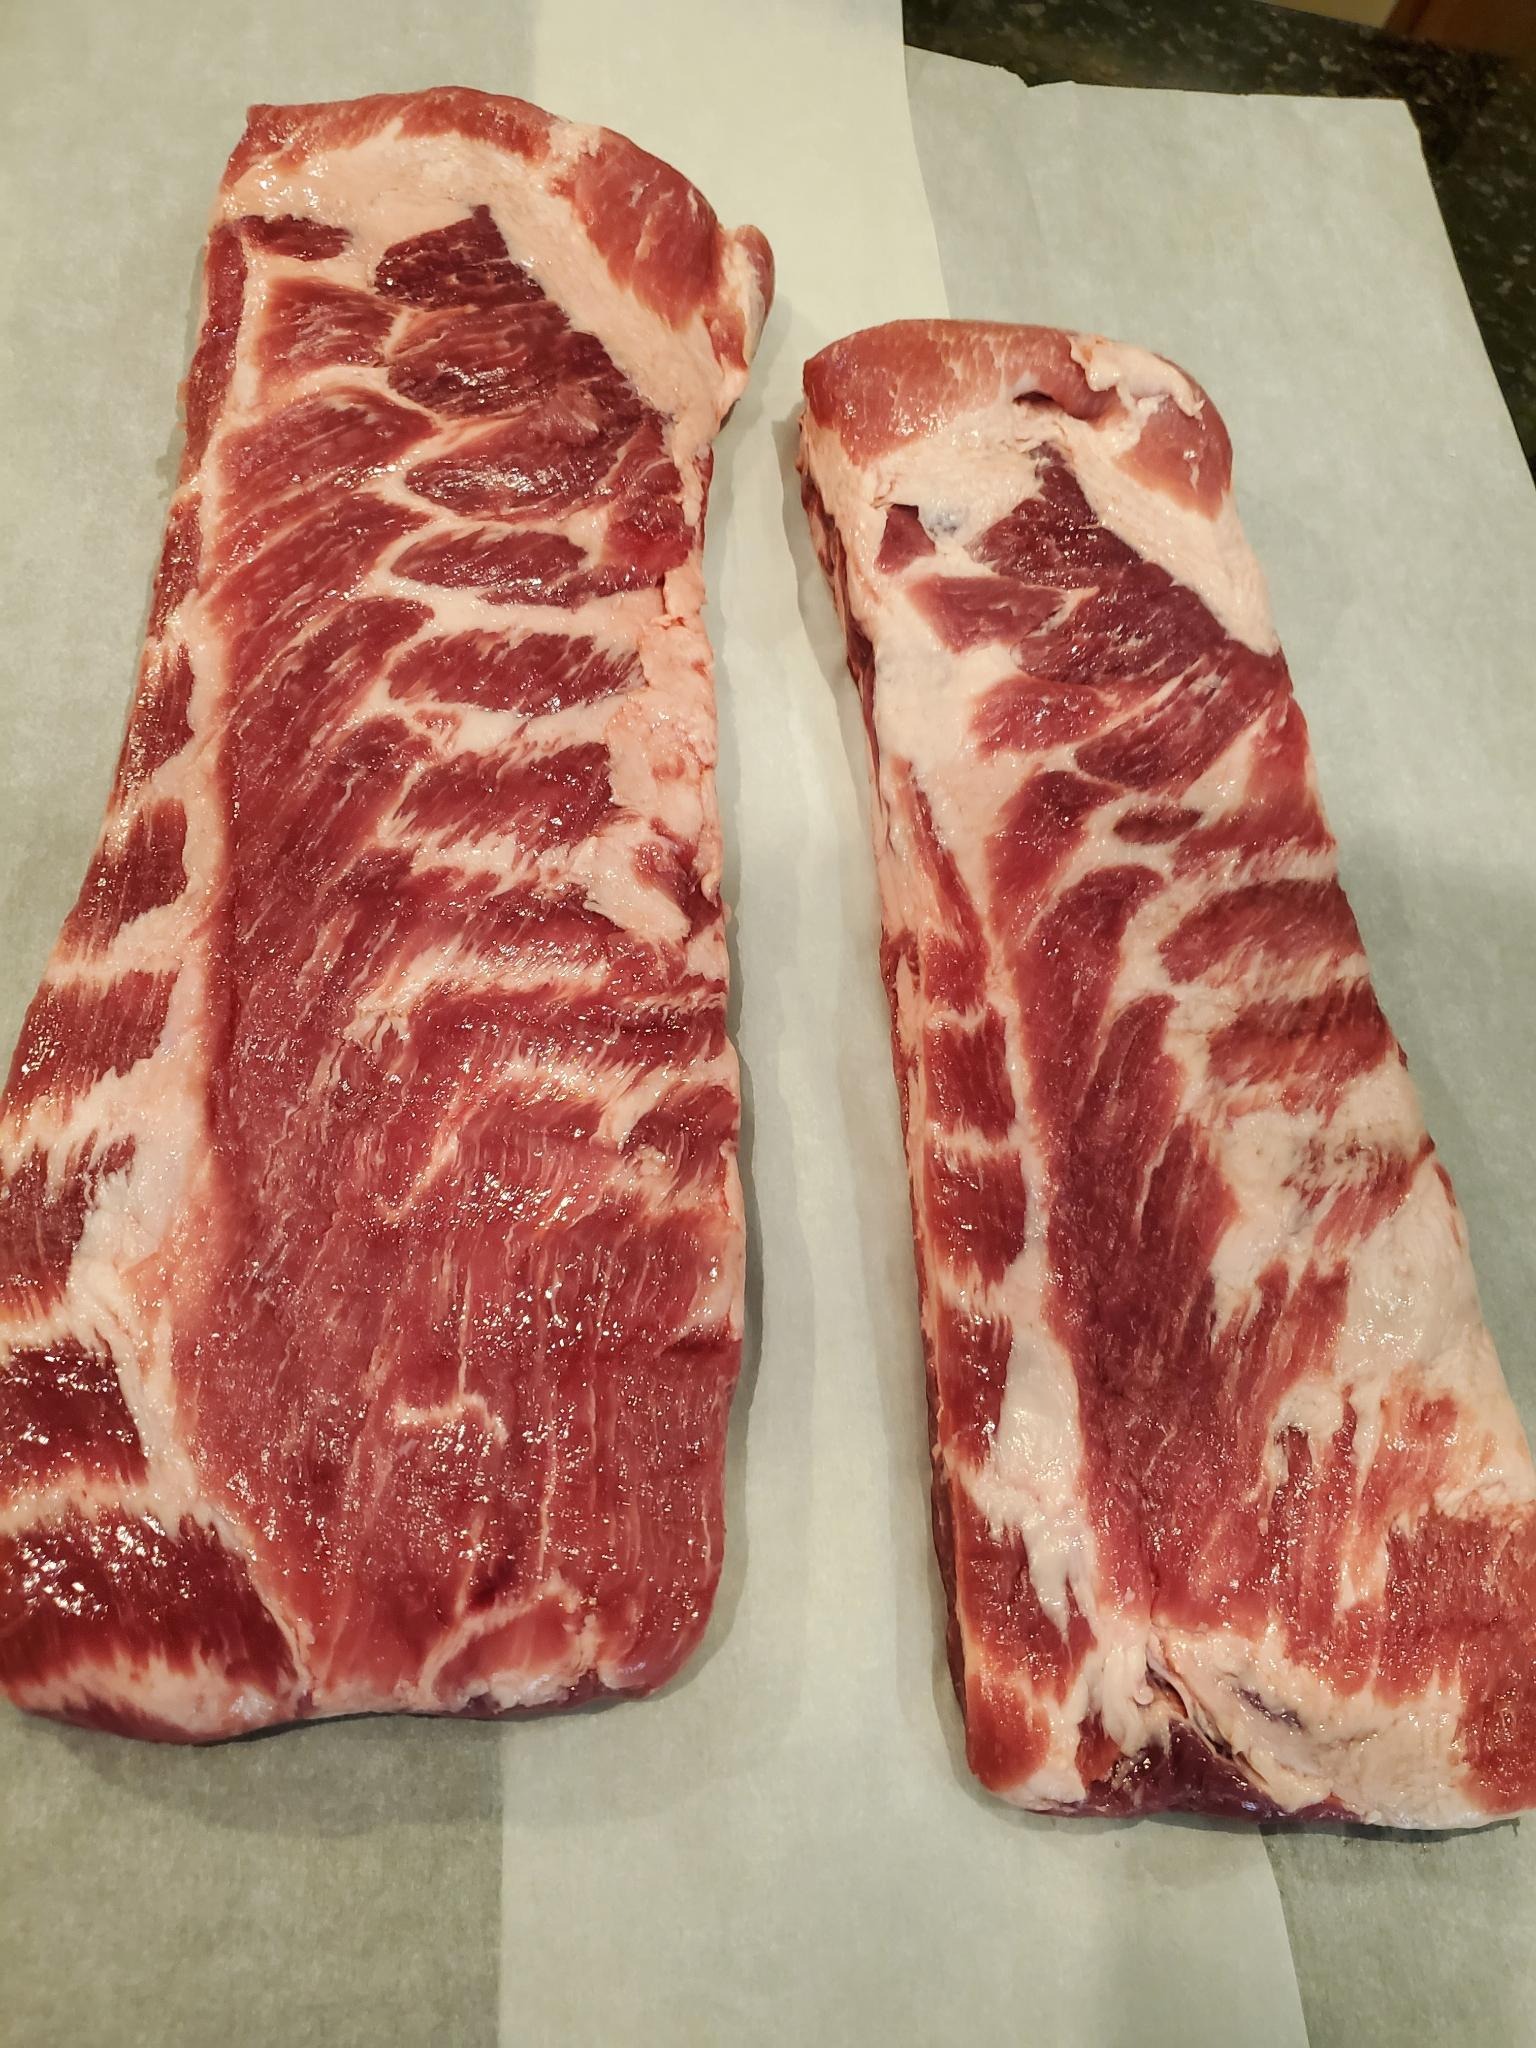
Trim away excess fat from the flesh side of the ribs.
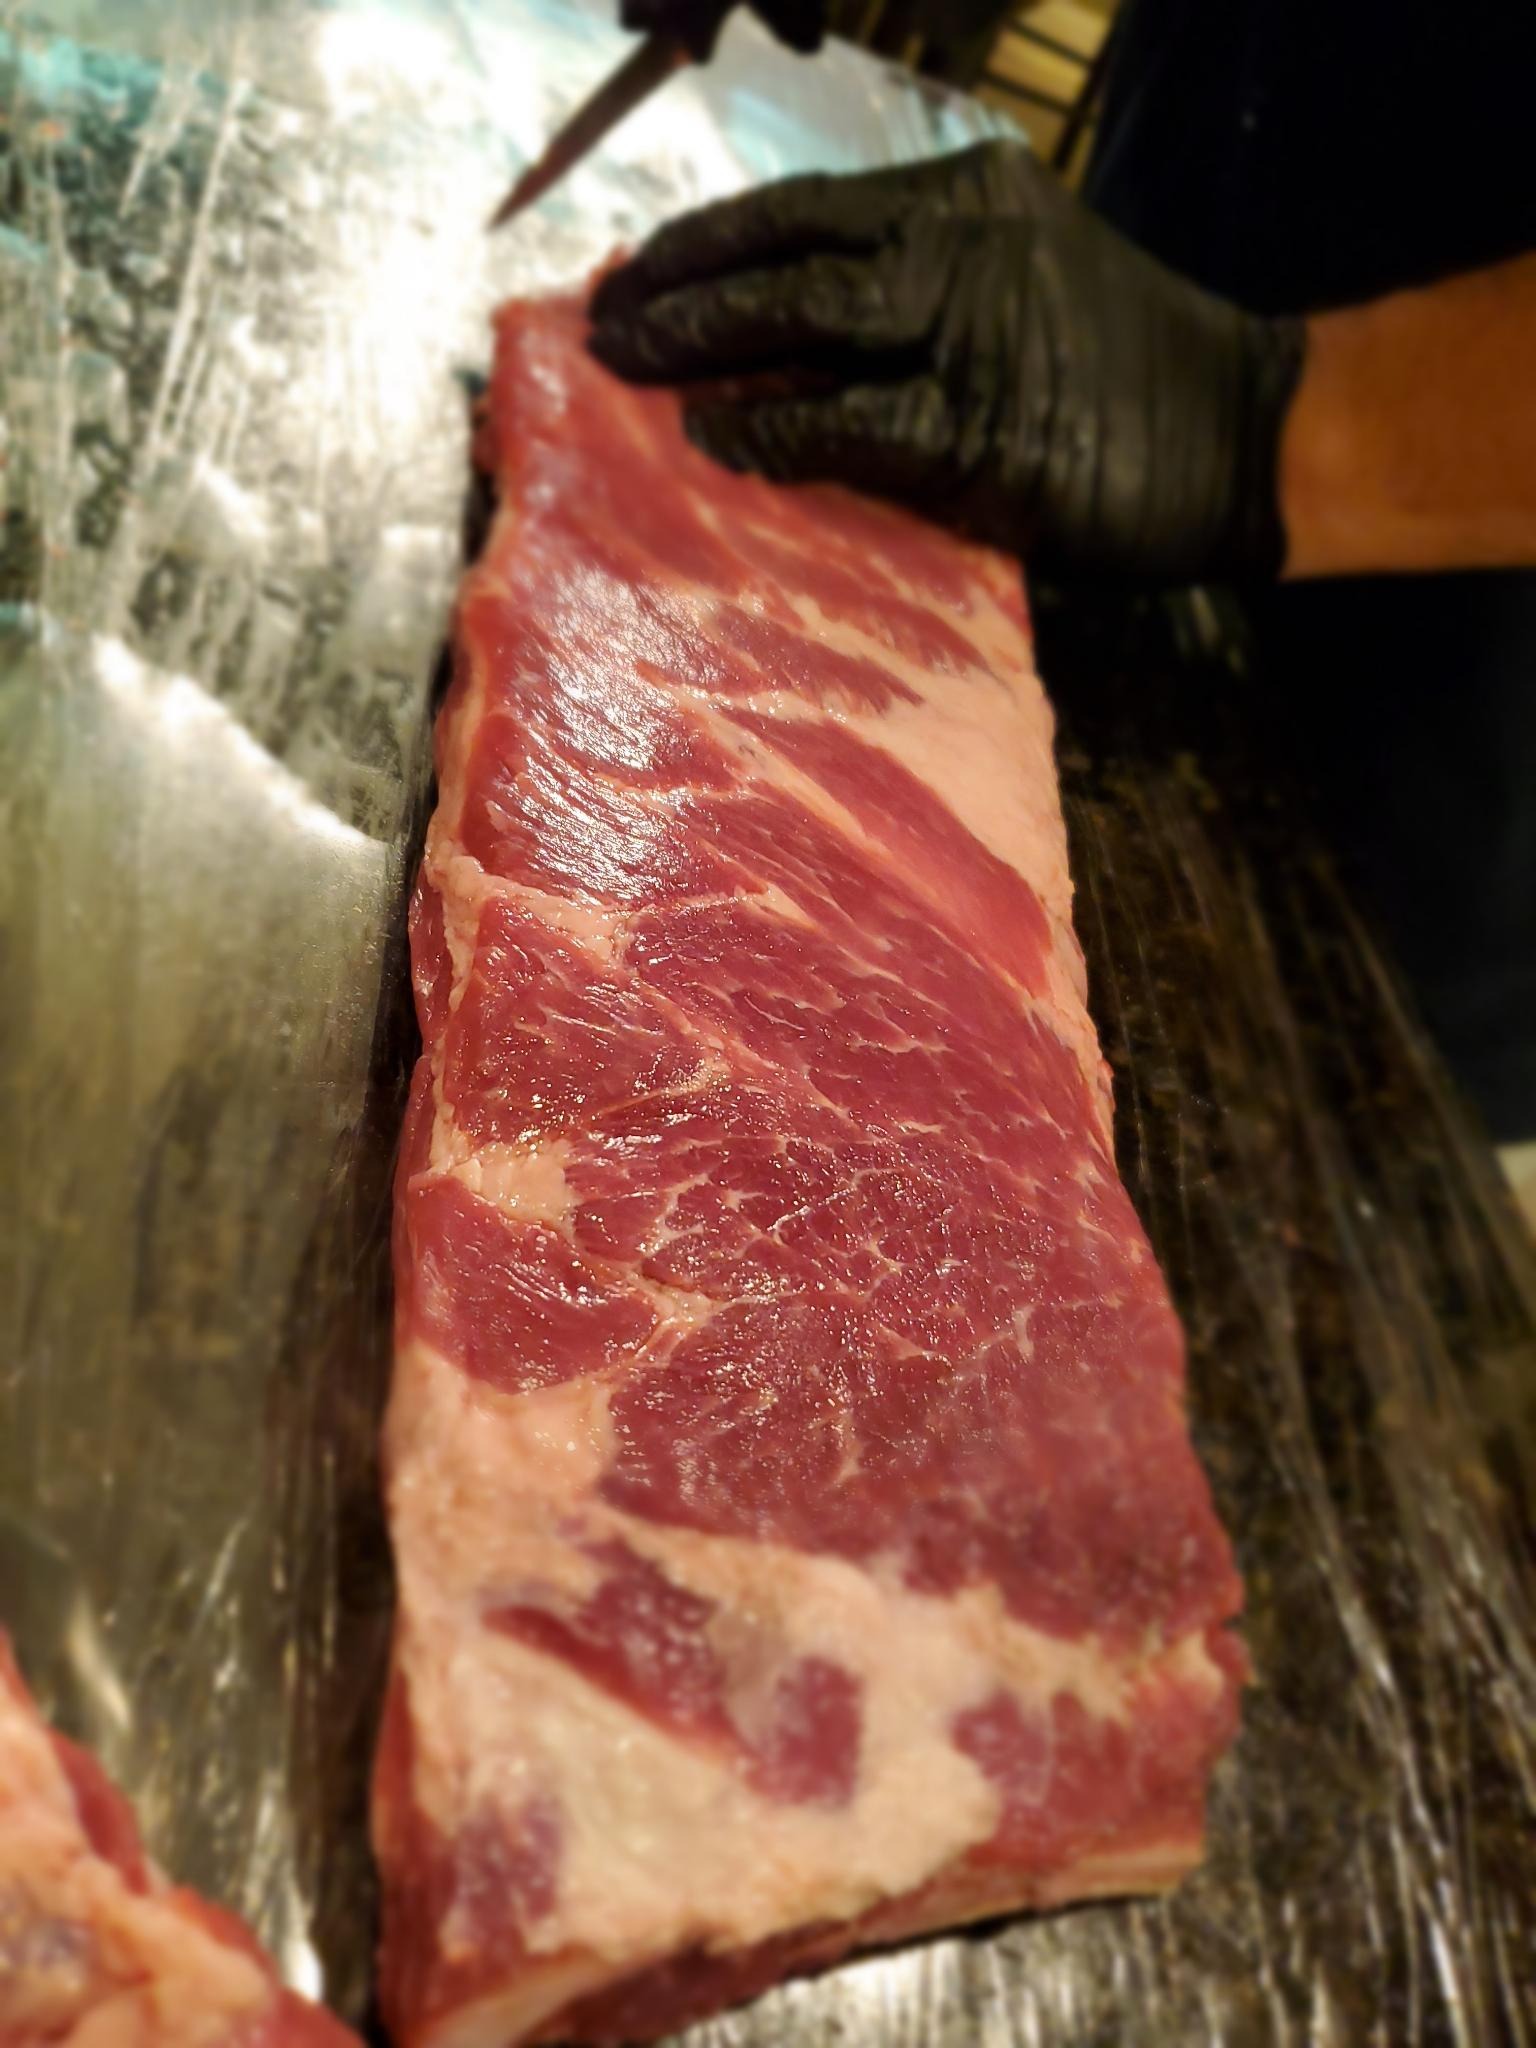
Trim the ribs length by locating the joint or "knuckle" near the top of each rib. Use a sharp butcher's or meat cleaver knife to make a clean cut.
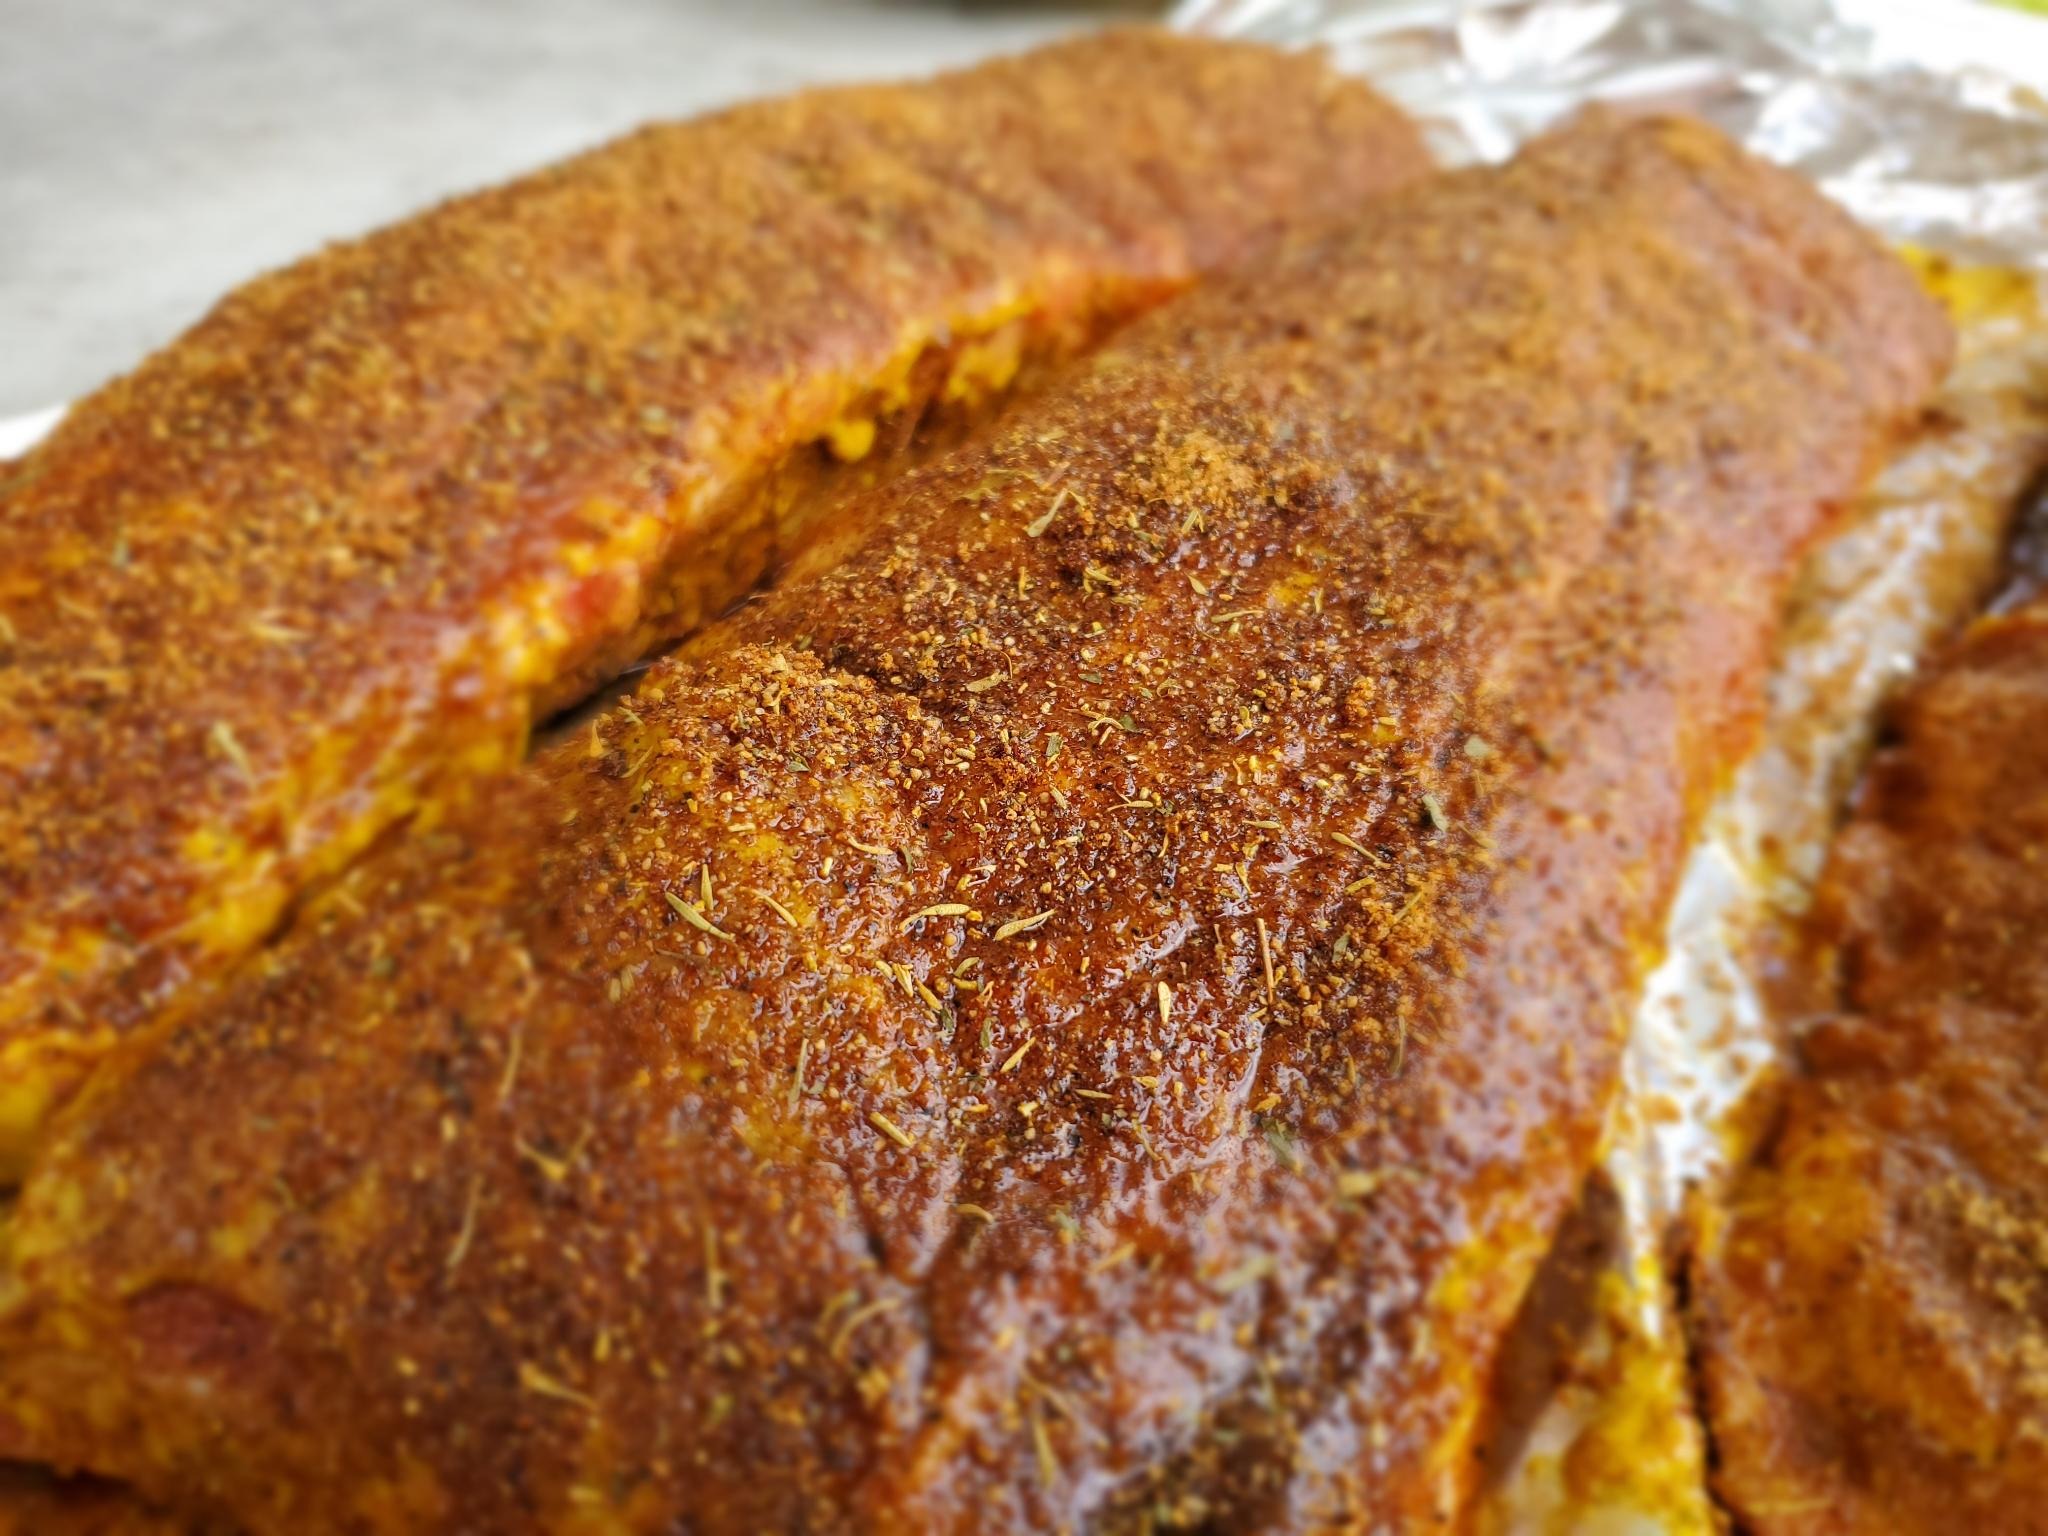
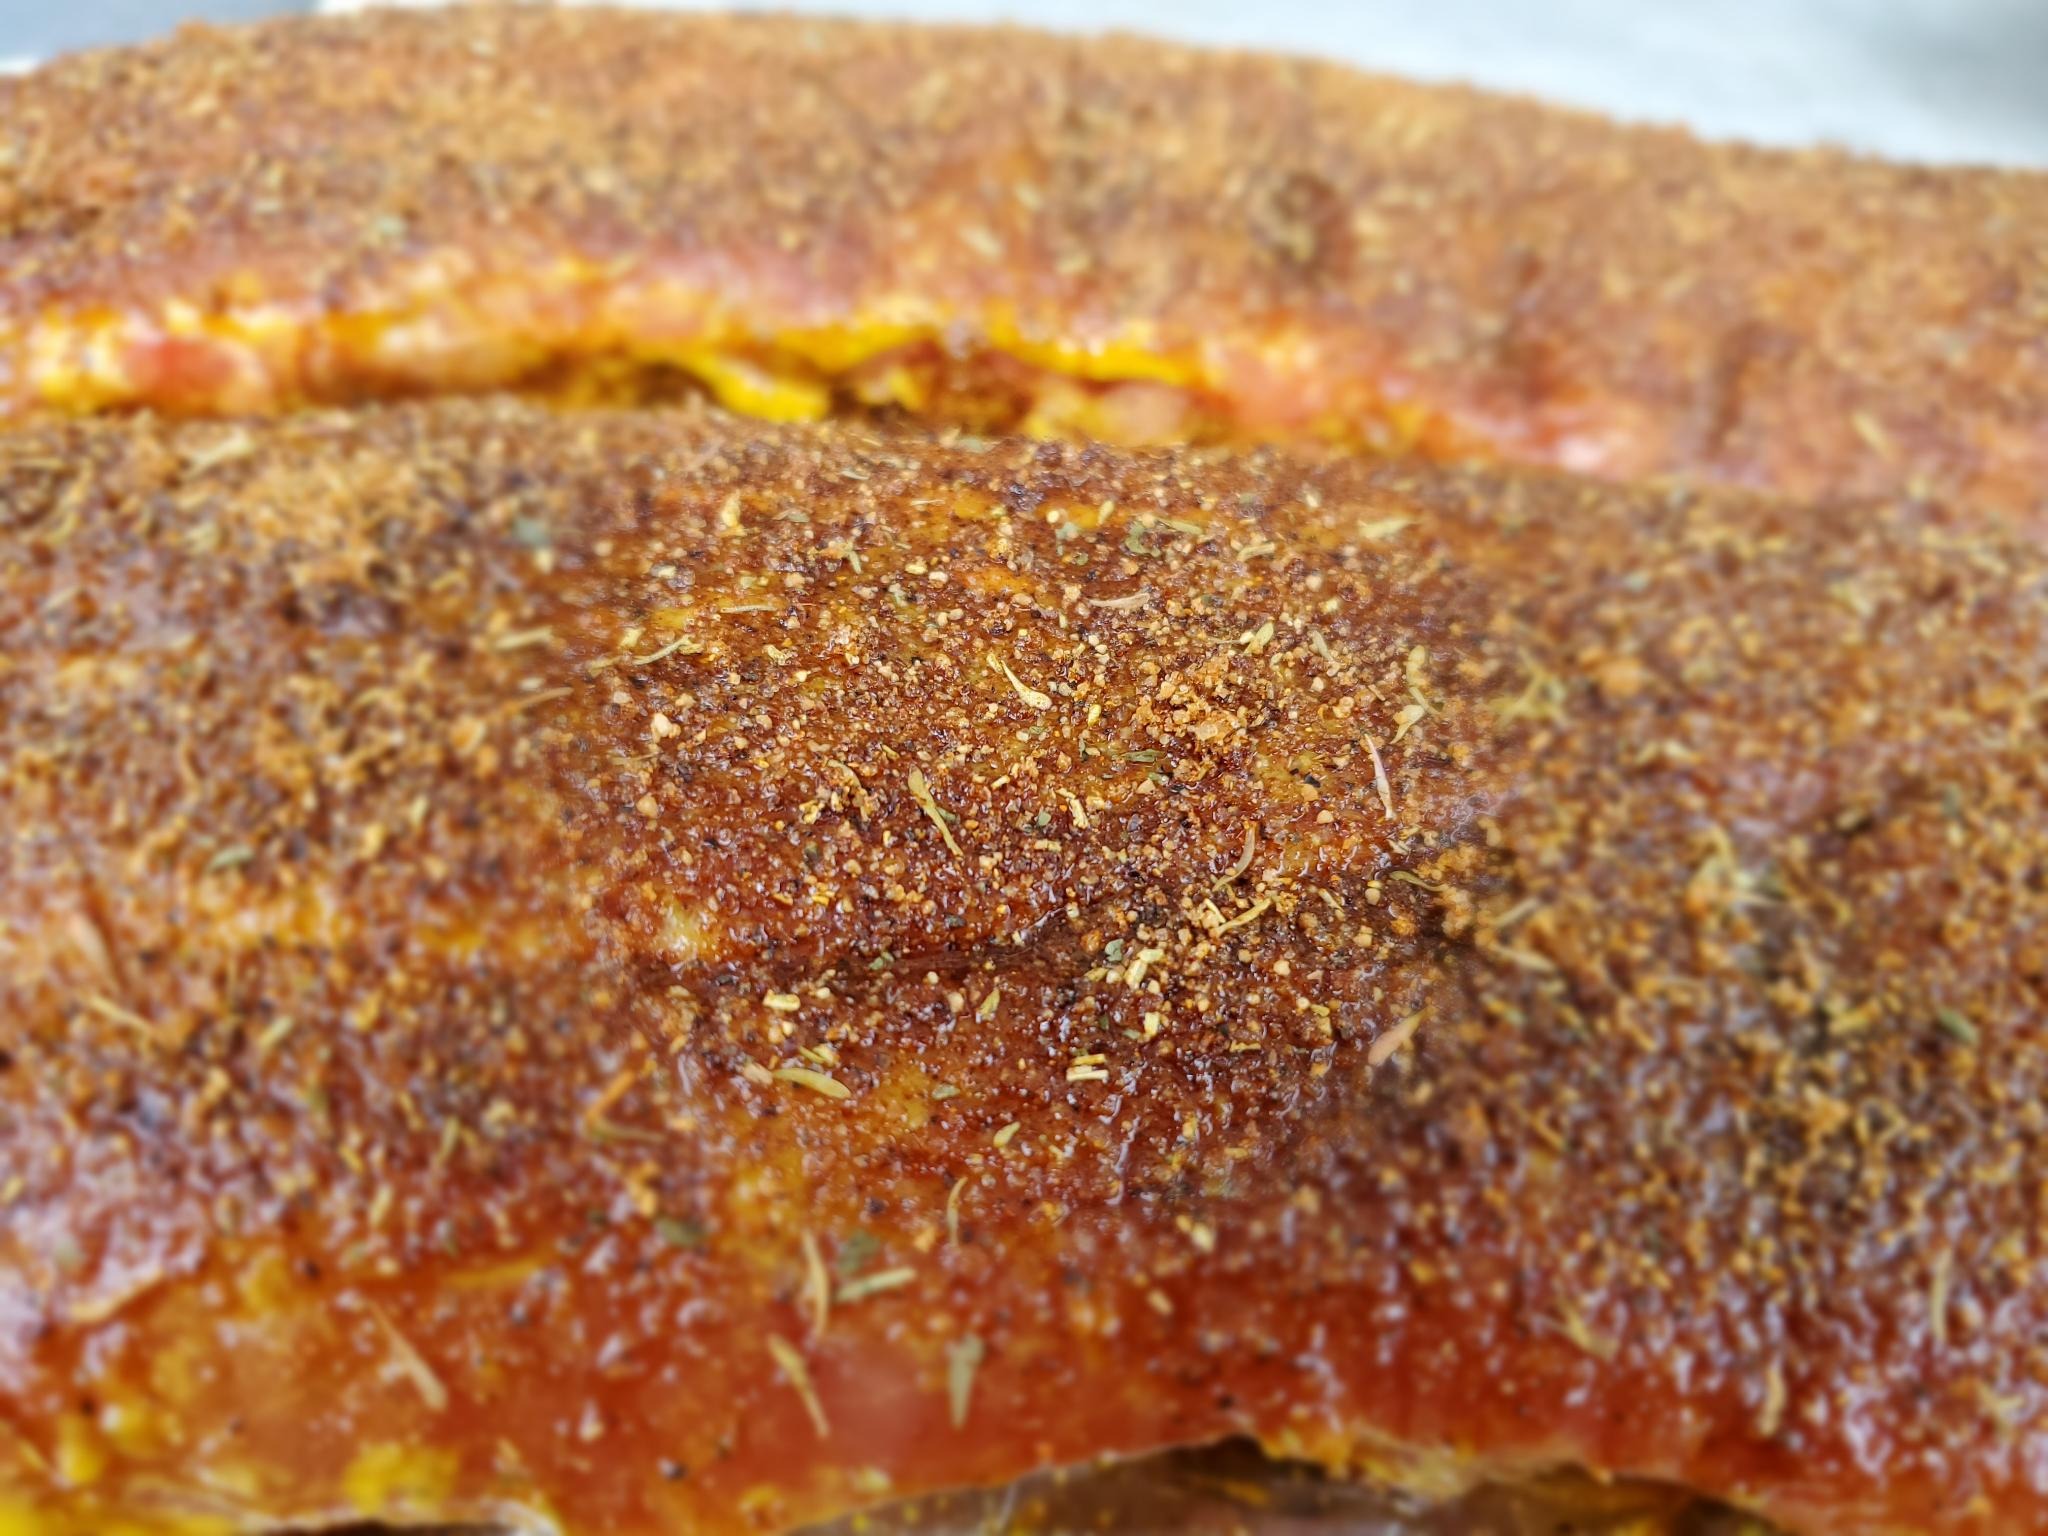
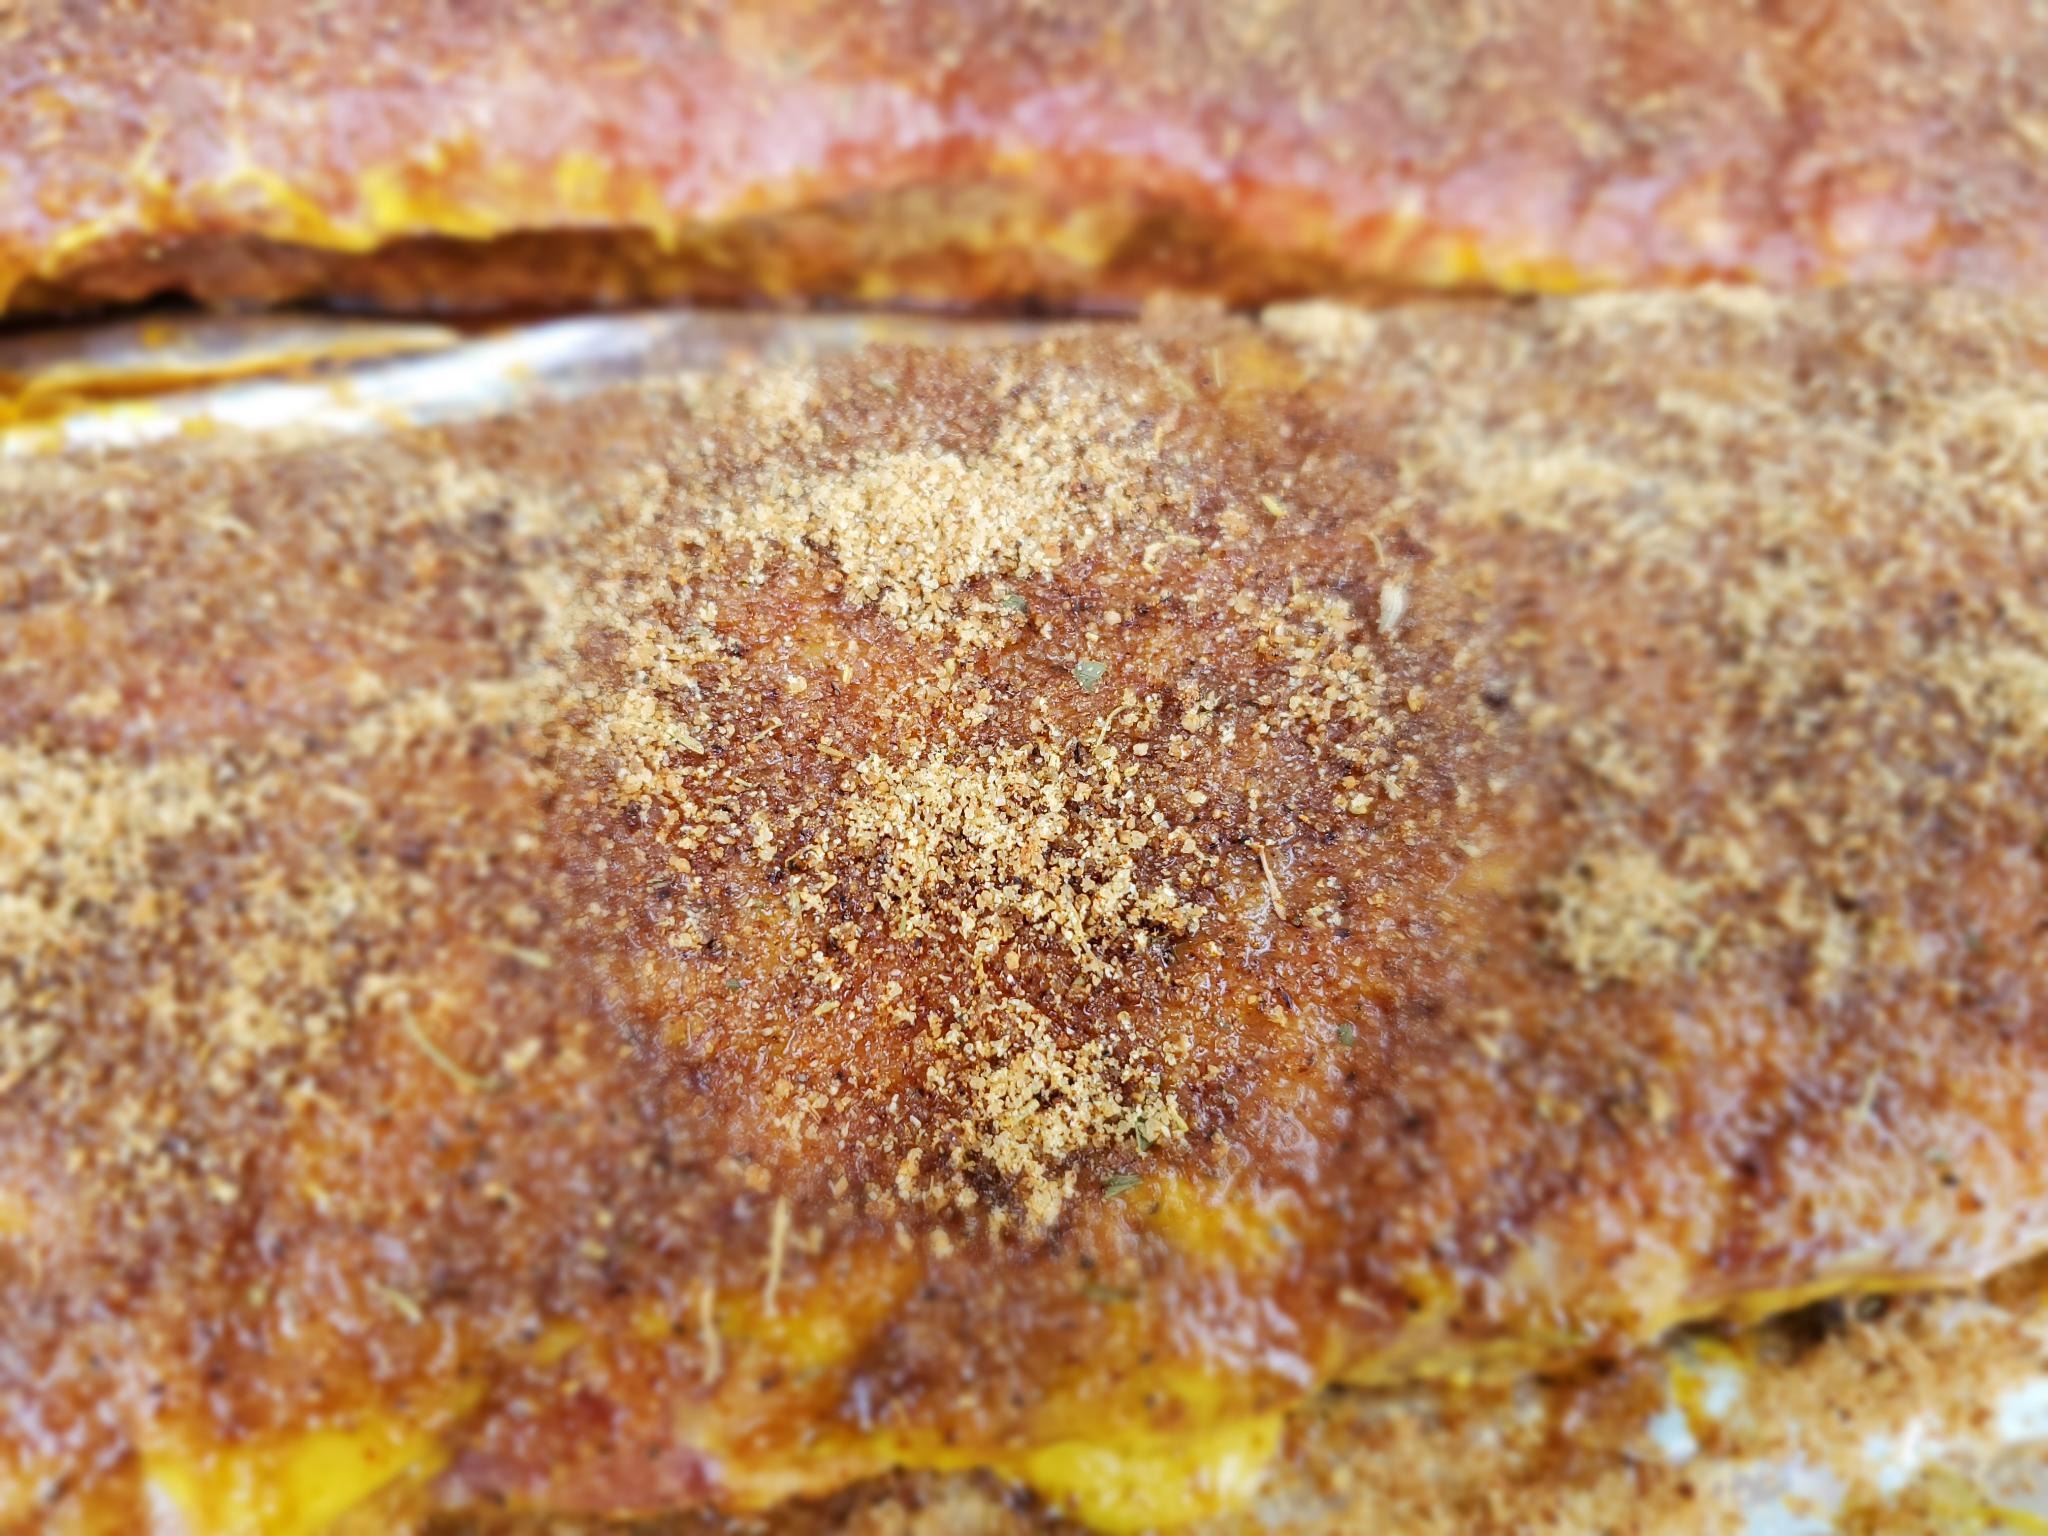
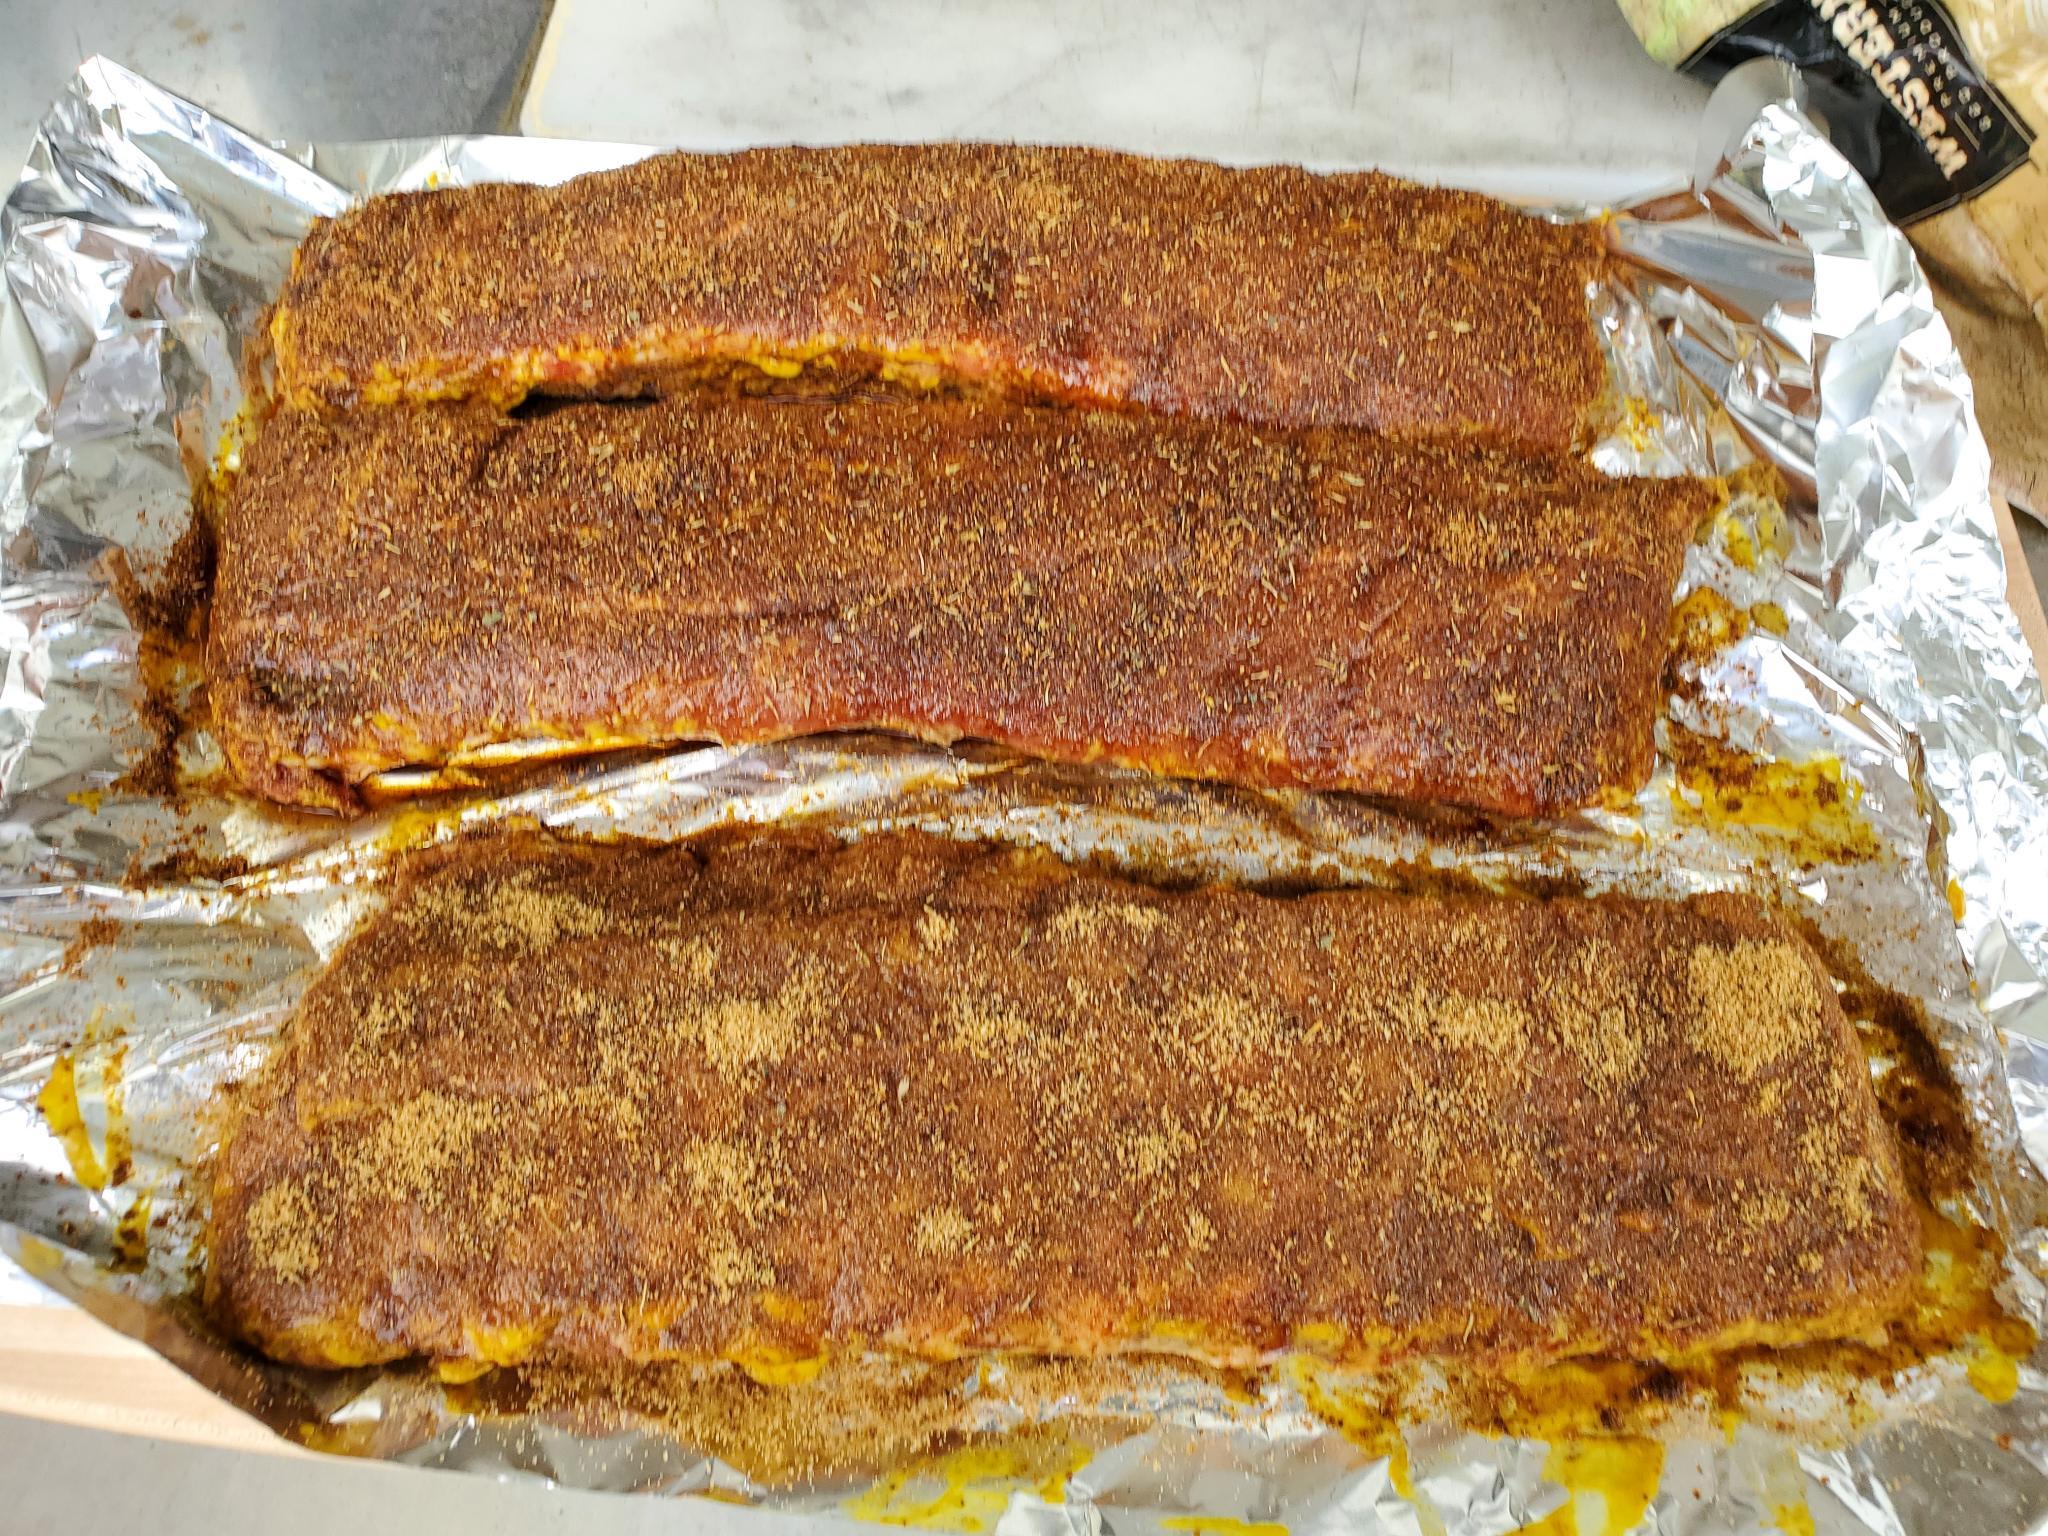
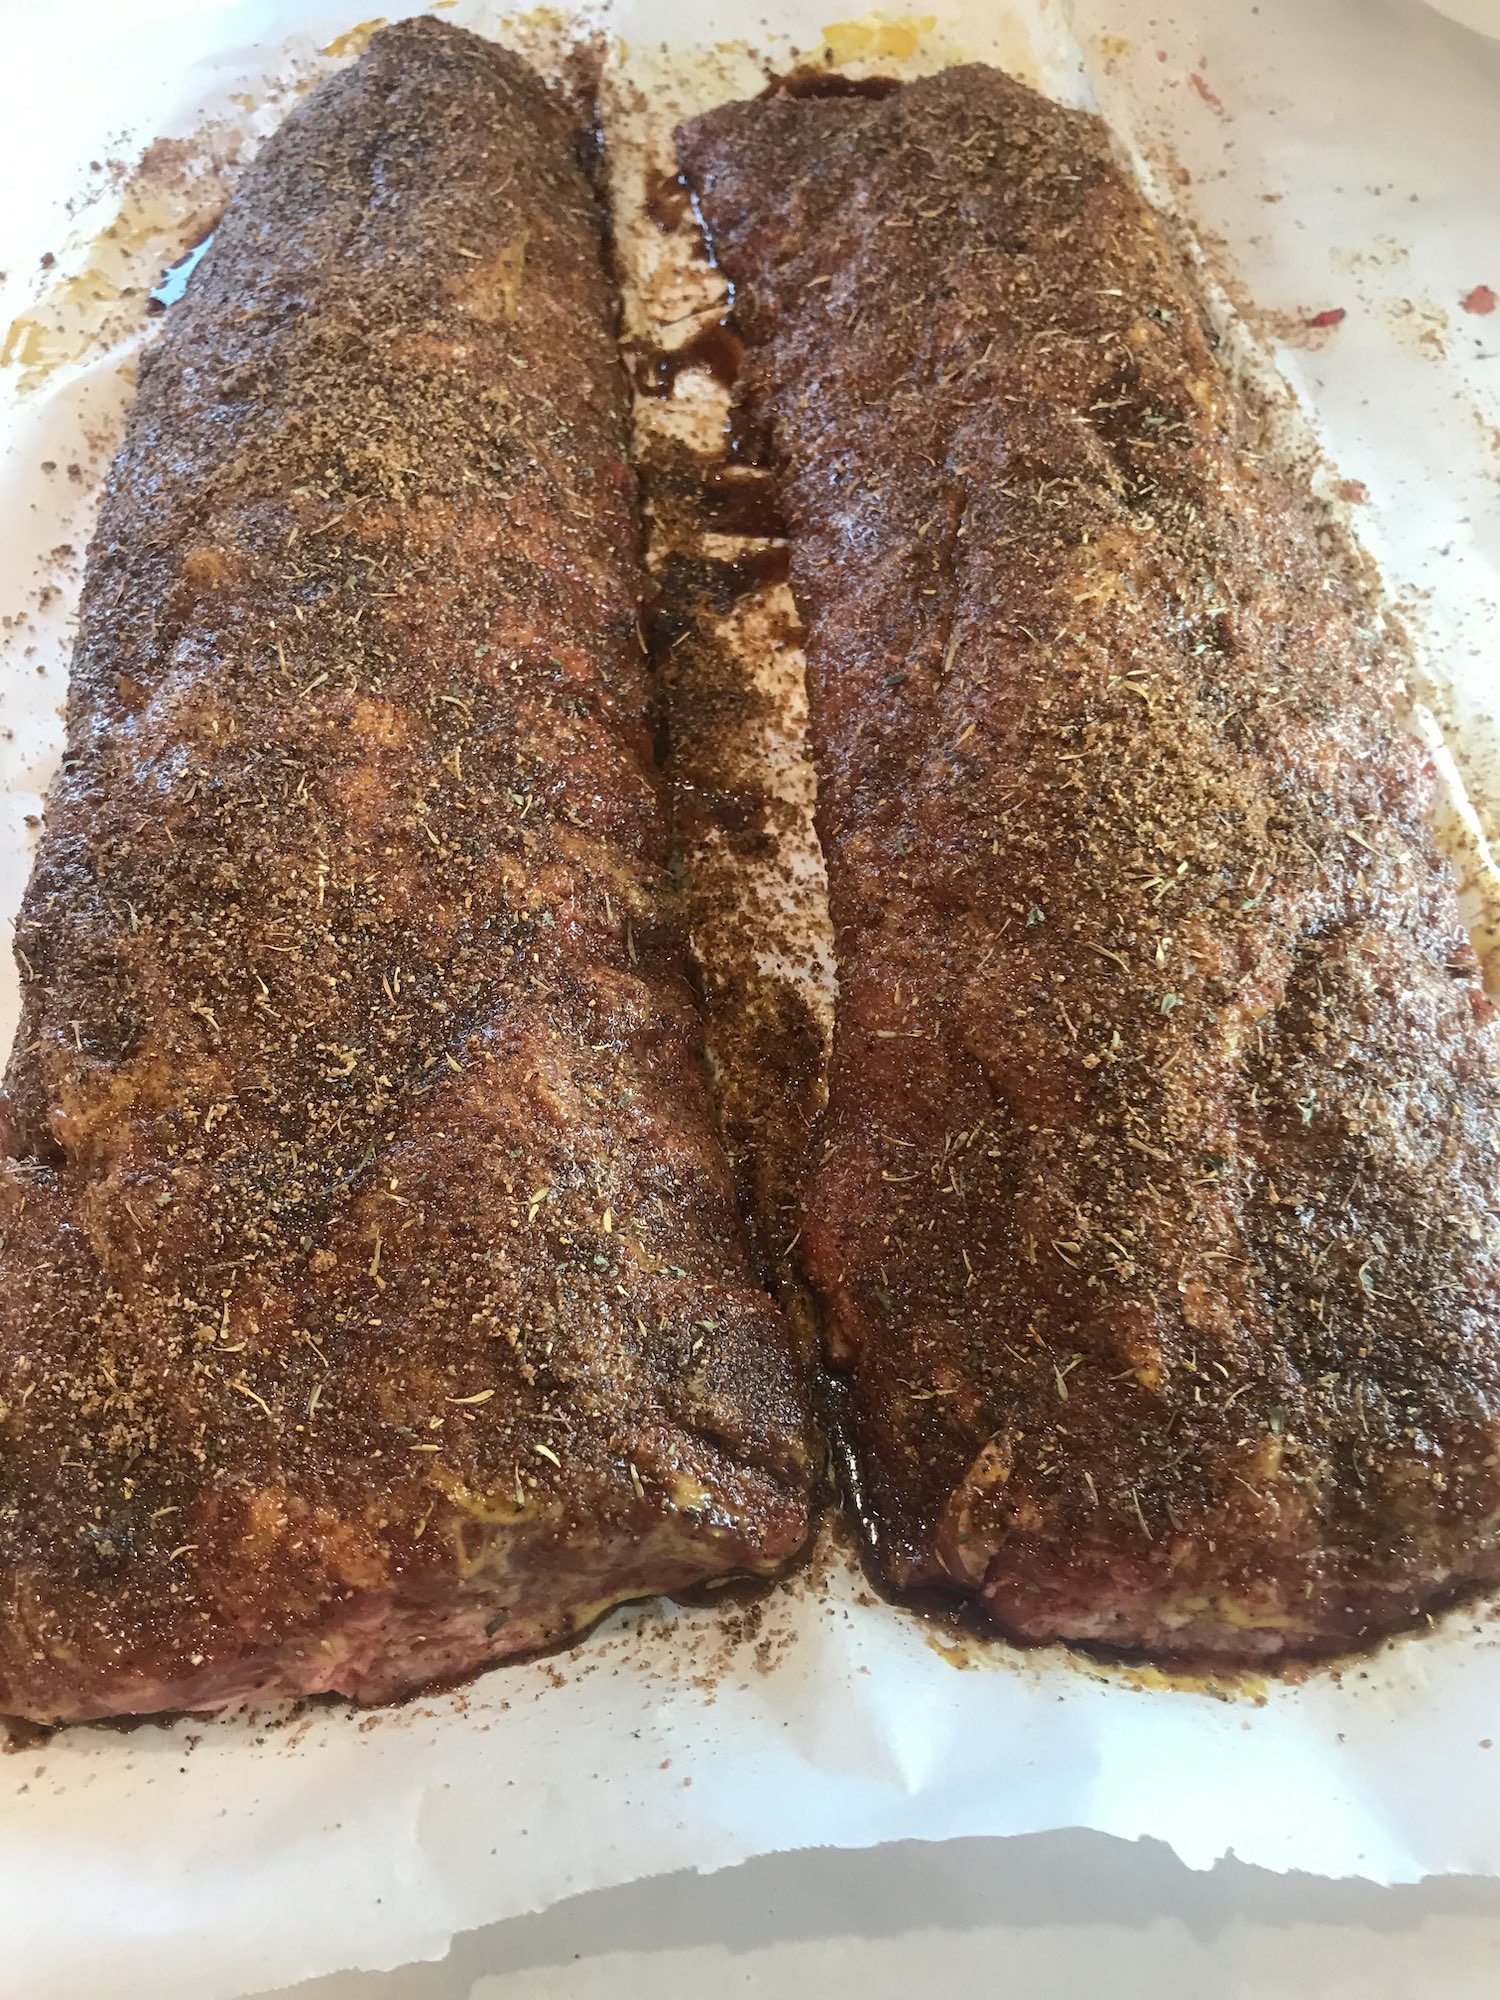
Combine the mustard and olive oil in a sauce bowl and whisk til blended. Apply the mixture to the ribs, beginning with the bone side, then coating the entire surface with Beast and Butt Rub as shown.
Continue to the flesh side and repeat the process.
Let ribs stand for 20 minutes, flesh side up, then touch up the spots missing a generous coat of Beast and Butt Rub.
Showing the method and location of the rib membrane; the ribs before and after competition trimming and the application of Beast and Butt Rub.
Mark as complete
2.

Prep The Barbacoa Grill!
DID YOU KNOW!? The Mexicans used the term "barbacoa" when they cooked fresh butchered cows & pigs on the trail. The method employed no grill surface, just burning wood and stones "A-frames" to hang meat from over the fire.
While ribs are standing, light the coals on a Weber Charcoal Smoker or other natural wood burning smoker and bring a solid bed to red hot then add a shallow cover of fresh coals, cover and using dampers, tamp the grill surface temp down to 225-250º.**
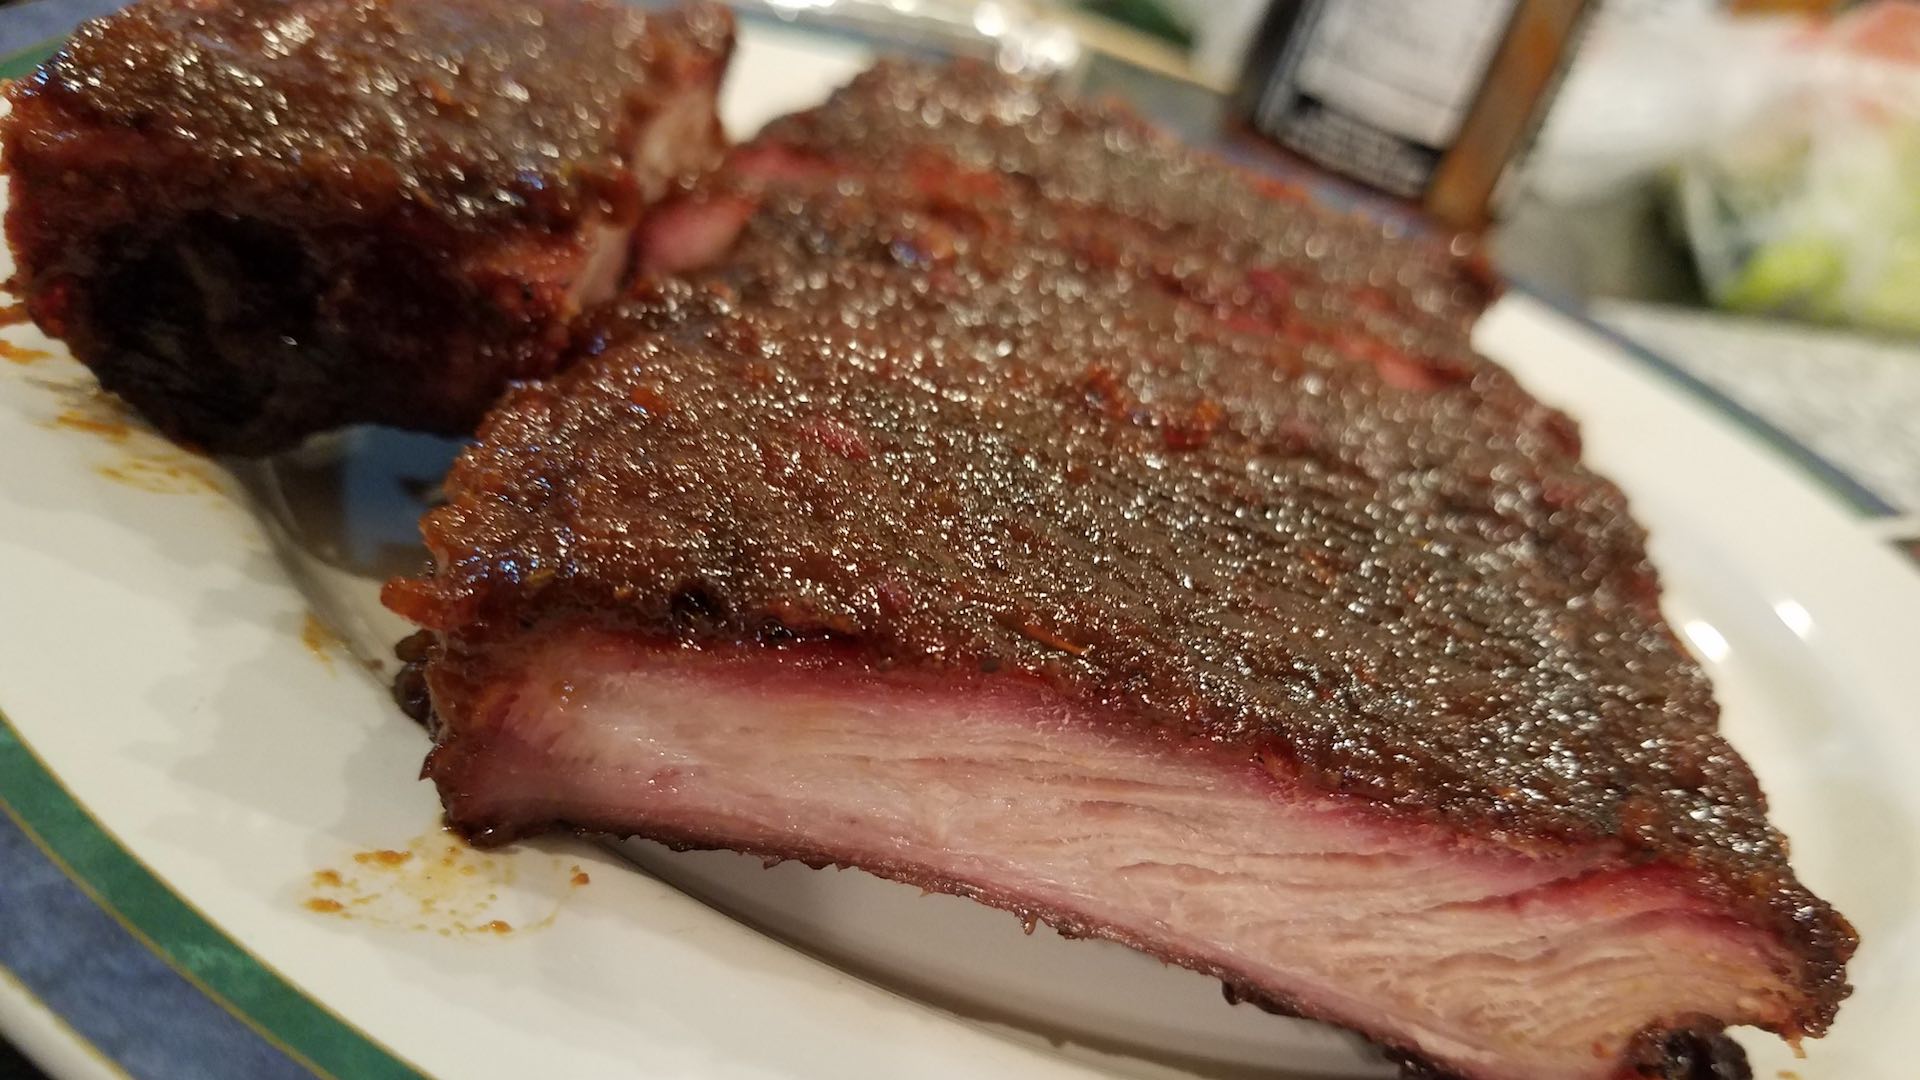
When the grill is at proper temp, add a generous mix of pecan and apple wood chunks or your favorite smoking wood. This stage is critical if you are to cook in a "smoke ring"; you want HEAVY smoke the first 60 minutes to both insure a deep, baked in "bark" on your ribs and to get that some ring flavor.
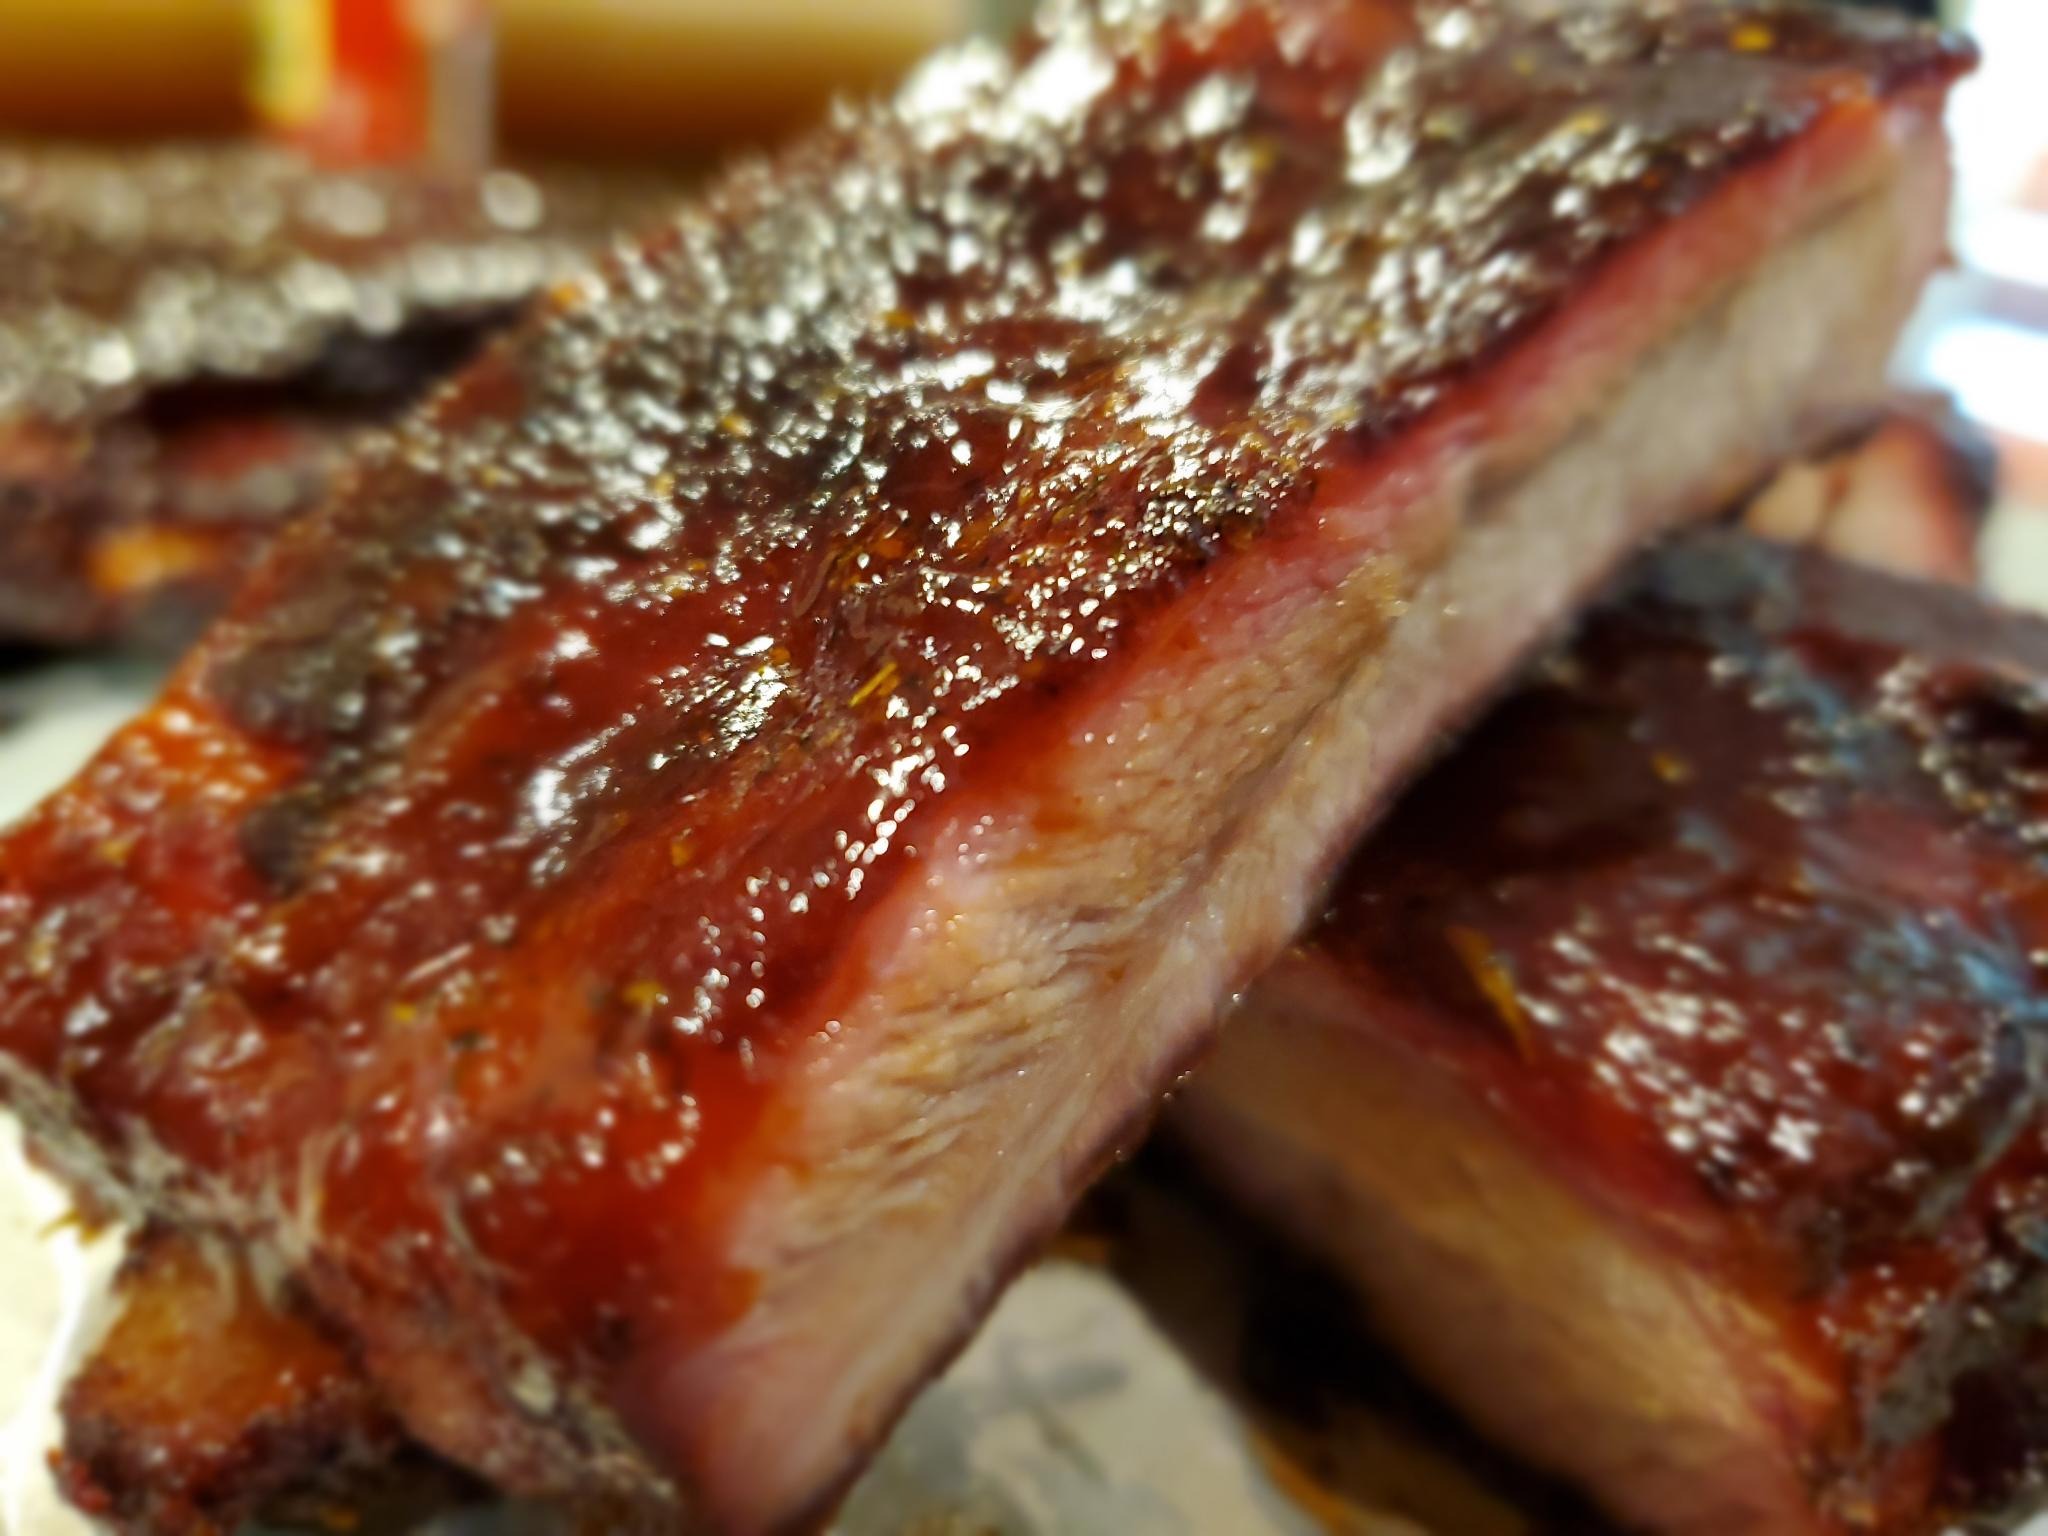
In this detail photo you can clearly see the "smoke ring" at the top of this perfectly cooked pork rib.
Mark as complete
3.
The 2-1-1
When the grill and ribs are all prepared we can now begin the fun part, the barbacoa!
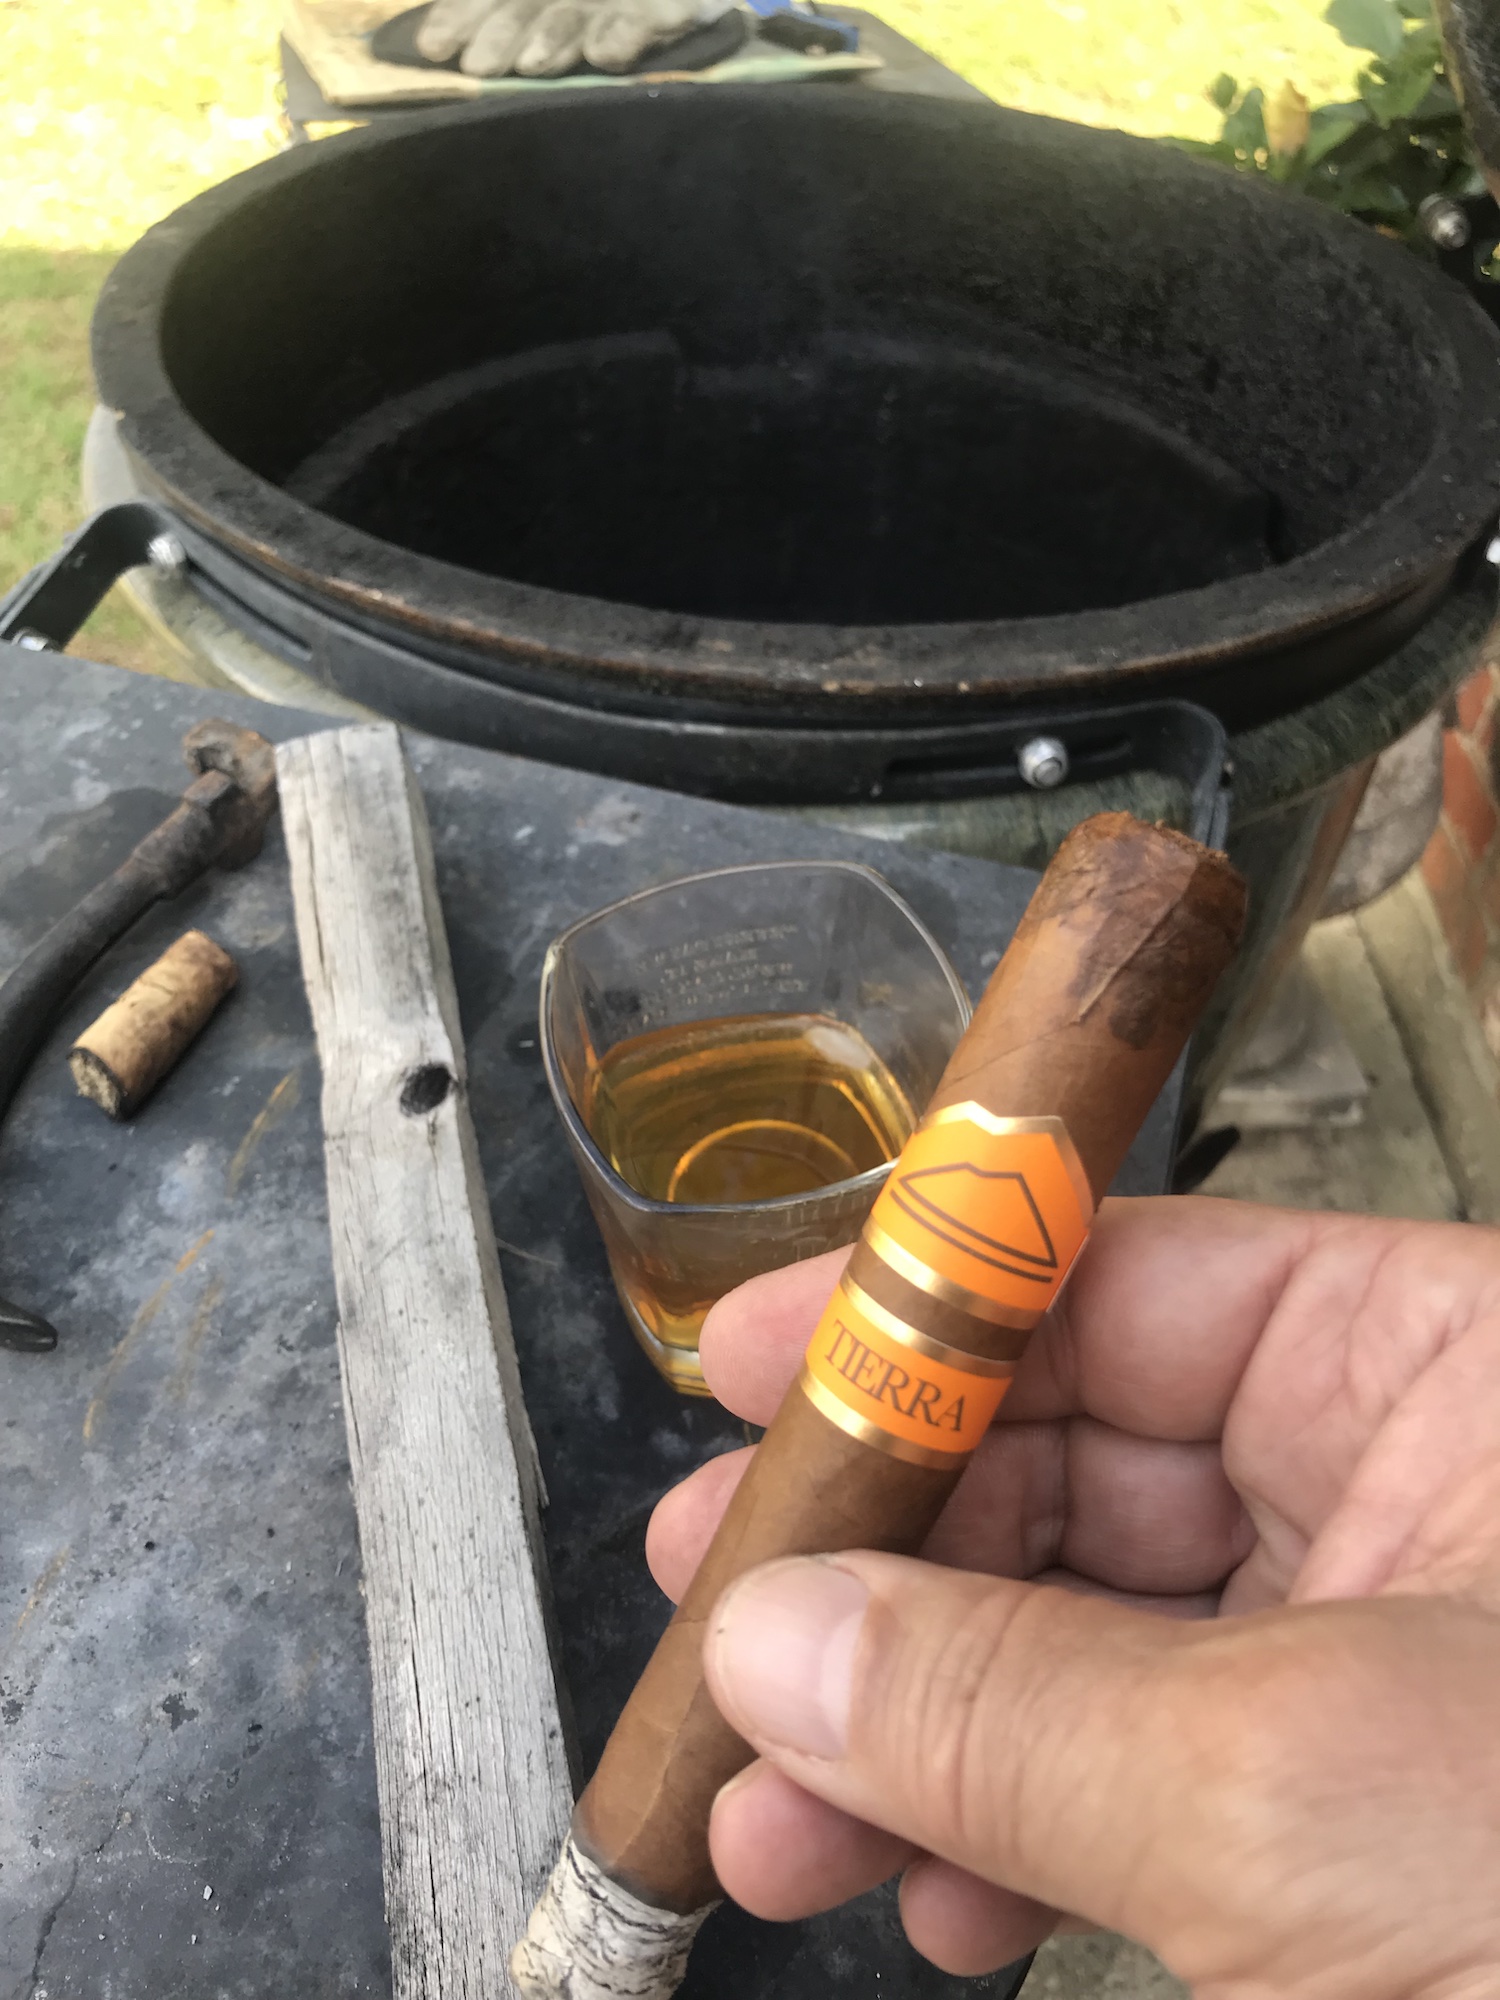
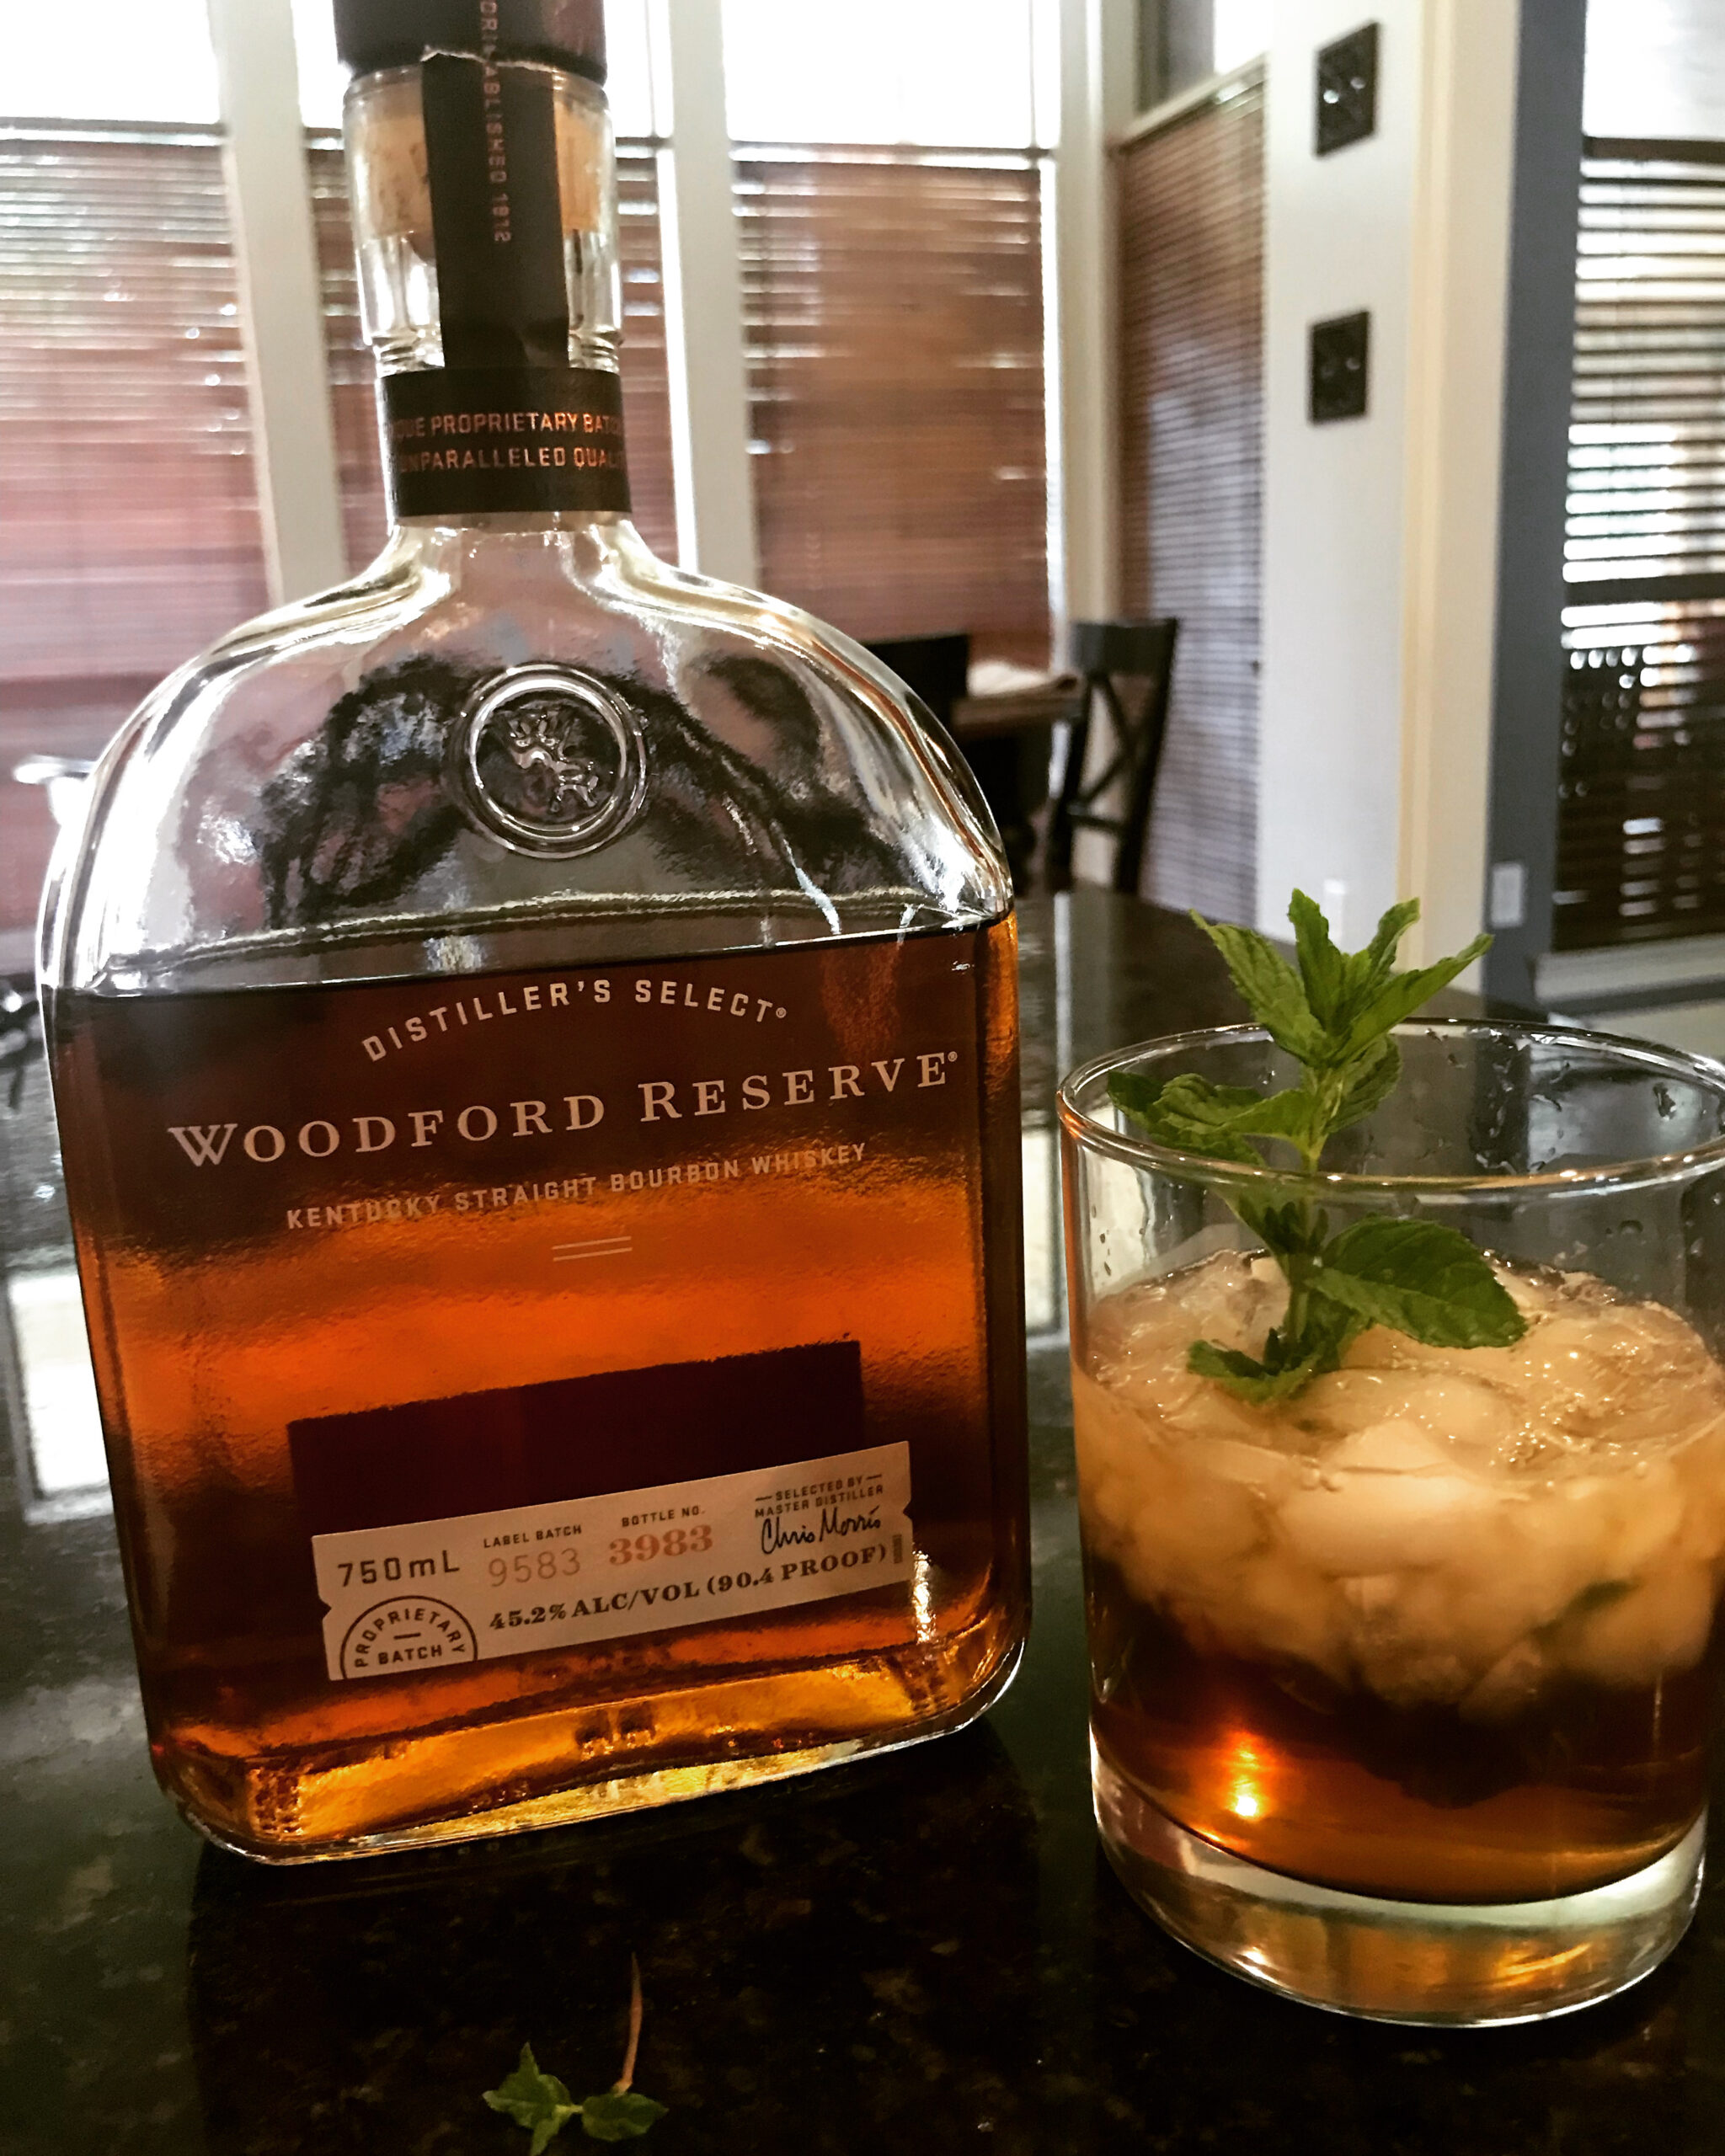
Go ahead and get your cigars/pipes lit and the cooler filled with ice and beers and a flask for sippin', cause you're going to be outside for quite a while!
When you have the temp correct and billow of heavy smoke going, add your ribs , recheck your dampers and temps to 225-250º and set a timer for 2 hours. It is imperative that you watch the fire and keep the temp below 250º! This is the "2" of the "2-1-1"!
**(especially if you're using a ceramic or "egg" cooker where the surface of the grill is much closer to the grill plate - in this case, keep your temp 200-225º).
Tools of the Barbacoa Trade!
Mark as complete
4.
Prepare The "Boats" for Poaching
In the last hour of the "2" you will prepare the ribs for the first "1" of the "2-1-1" method.
Melt or soften the stick of butter, keep it pliable because you'll need to be able to easily spread it where you want it to go.
Measure out the honey and brown sugar.
Fashion a pair of "boats" using the parchment paper (or foil) then using the butter coat a rib-sized area near the middle of the boat. For this part I like my butter to just be softened because I want a nice 1/4" thick bed of butter so my ribs don't stick to the paper.
Sprinkle the brown sugar to completely cover the butter.
Lay a few beads of honey now, the complete length of the sugar-butter spread.
Now, remove the ribs from the grill being careful to use a long paddle or spatula so they don't "break" into 2 pieces which can happen depending on heat and rib thickness.
Using gloves —NEVER TONGS!! tongs will damage the "bark" you just spent 3 hours creating!— carefully grasp rib bone on either end of a slab being sure to not put your —what Mittus Church calls—"your meat cleavers" on the bark and place the ribs on the butter/sugar/honey coating FLESH SIDE DOWN. Repeat for the second slab.
Now, melt the remaining butter (melt more if needed) and drizzle it over the bone side of the slabs. Add some honey and brown sugar, as best you can, bend, pinch and crimp the parchment to give it a hull like a boat (you can use wooden clothes pins to pinch the paper at the top, too) and your ready for the next phase: poaching!
Go back outside and get your temp back to where it was for the first phase, if you need to add coals/fuel, do that now, we've got at least 2 hours of cooking left and you'll need heat for the final phase!
Mark as complete
5.
The Poach
This part's easy!
Crack a fresh beer and re-light or light a new cigar.
Set a timer for 60 minutes.
Enjoy God's blessings of spirits and smoke.
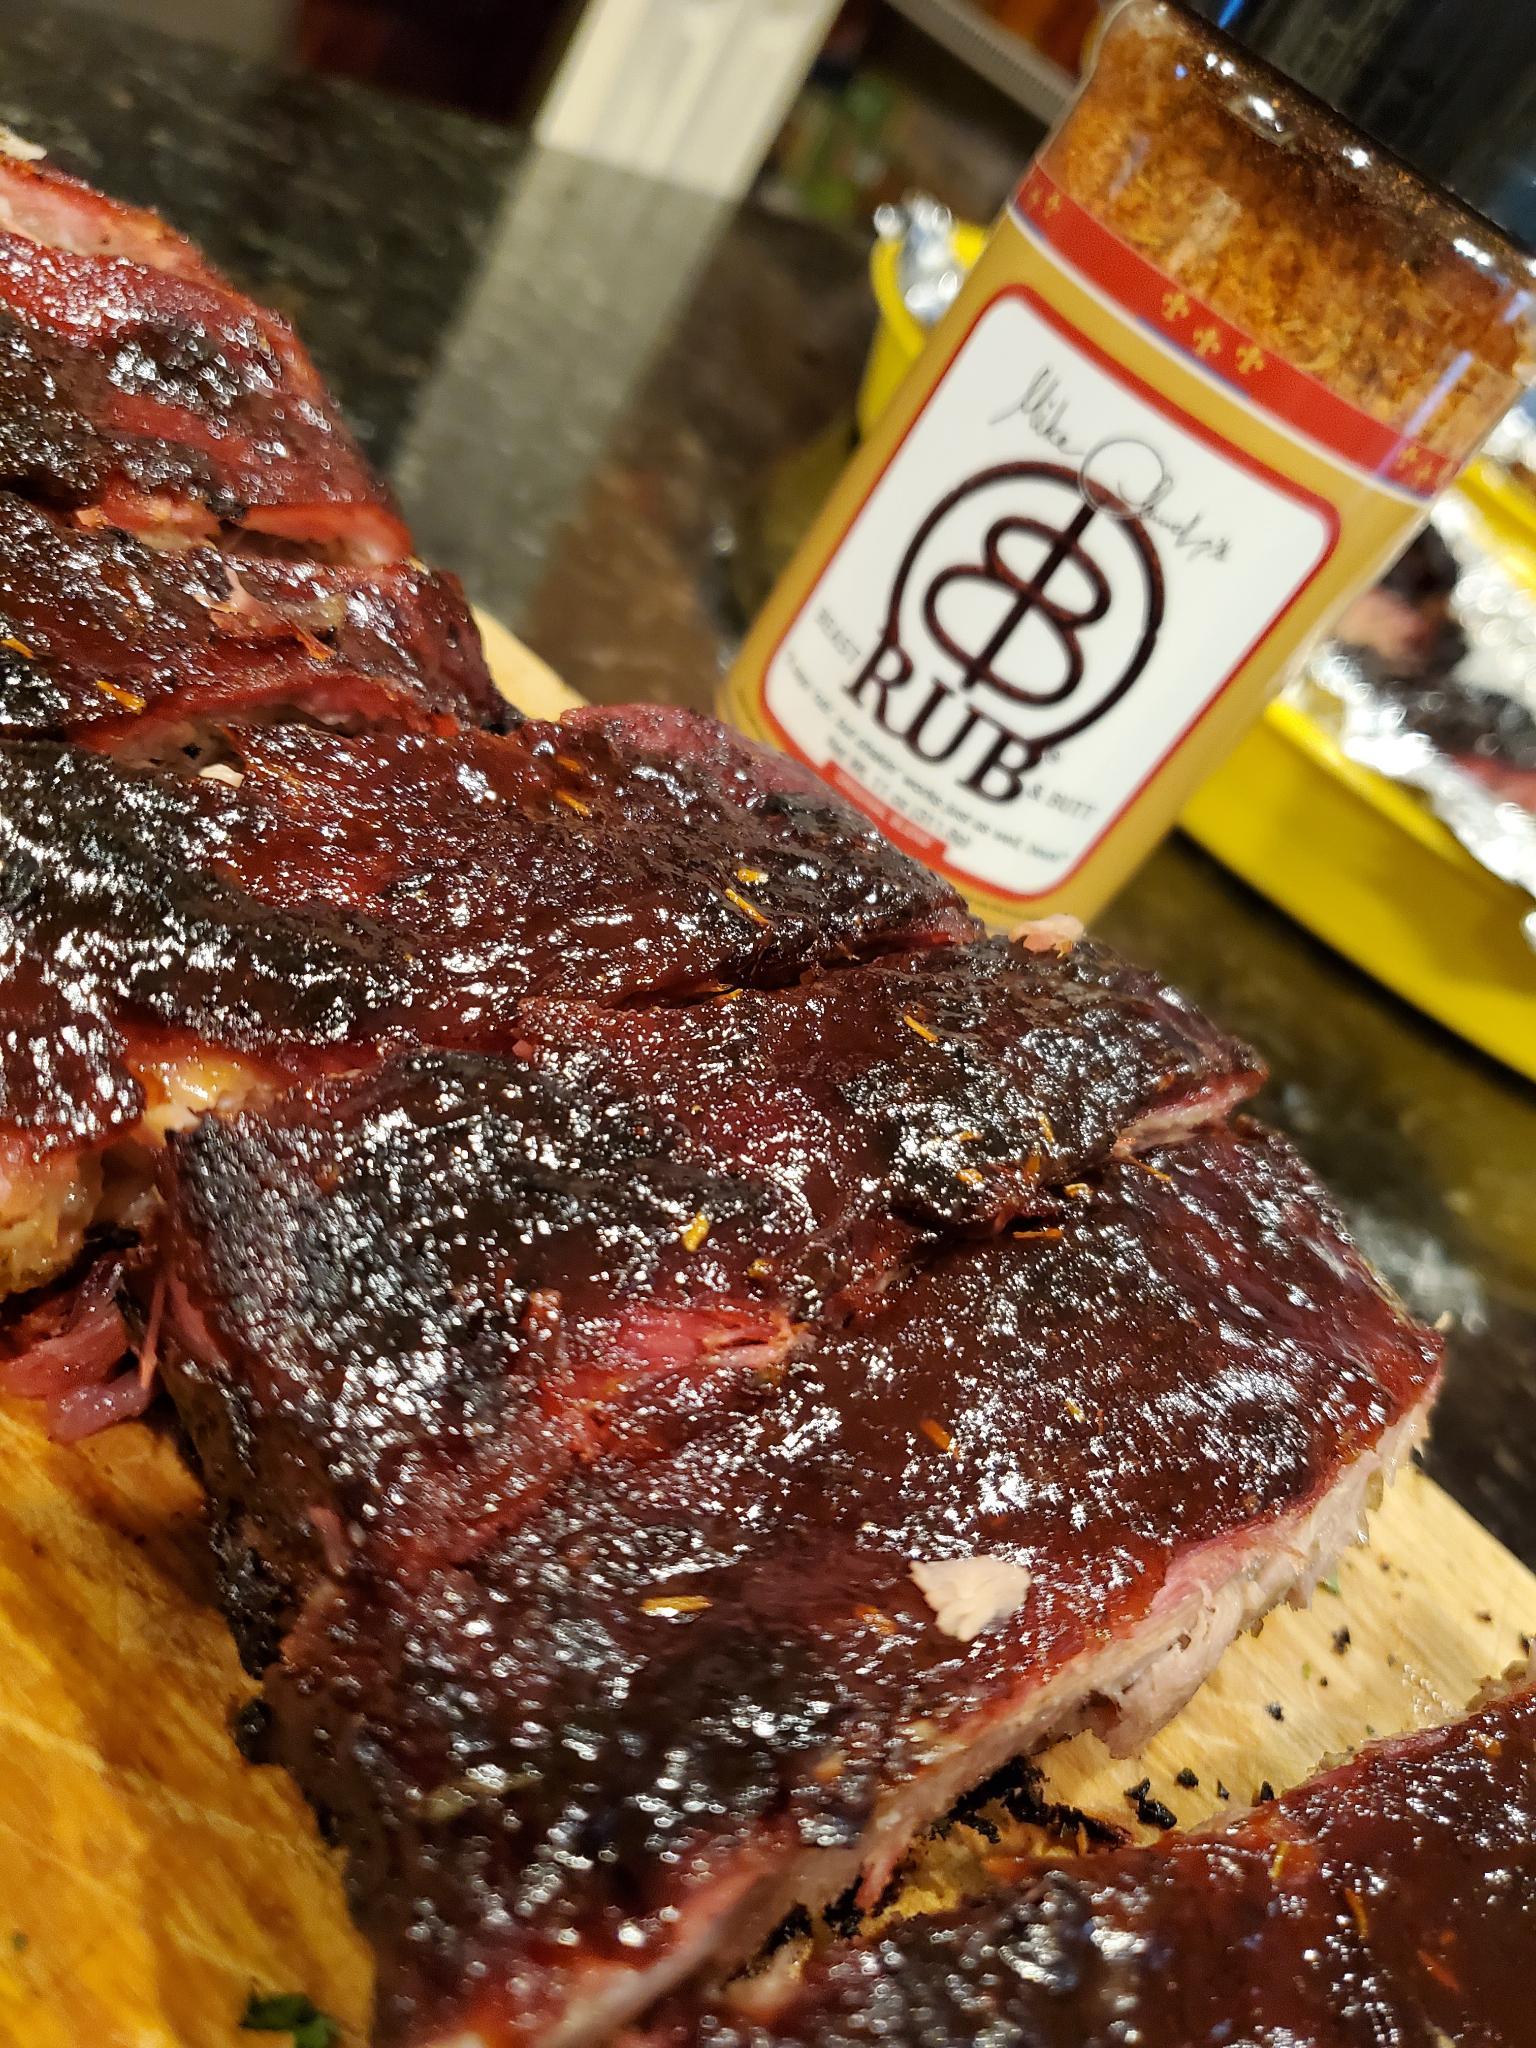
After 60 minutes of relaxation or throwing "corn-hole", remove the ribs from the pit, then remove them from the boats to a covered surface FLESH SIDE UP! At this point we'll now touch up our "bark" wherever it looks thin with a fresh coast of Beast and Butt Rub. We're no ready for the final 2 phases!
These slabs have just been touched up with Beast And Butt Rub after The Poach!
Mark as complete
6.

As you begin this final hour of the 2-1-1 you will want to make sure you have enough coals/embers for AT LEAST ANOTHER 2 HOURS just in case the outside temp or size of the slabs has extended your final "1" to a "2". You will also bring our old friend pecan/apple smoke back into this phase to help finish off the smoke ring we should be well on our way to creating. You will know when your slabs are ready for saucing when the rib meat at the top of the slab has begun to recede exposing 1/2" to 1" or more of the bone. you can confirm this by grasping the large end on the slab with gloved fingers on the bone, lift a few inches and then twist; if the meat begins to start to tear and break the bark near the center of the slab, your ribs are nearing perfection! This is the point you need to get to during this phase. Whether that takes 20 minutes an hour or 90 minutes is up to your cooking skills and judgement. Perfect Memphis style ribs do NOT "fall off the bone" that's what crock-pot ribs do. You want the perfectly cooked and tender JUST BEFORE THEY START TO FALL OFF THE BONE. This takes practice and dedication so take notes and don't do too many shots until you're finished!
When YOU have determined your ribs are "cooked" then they are ready for the last phase. Congratulations, barbecue paradise alley is in sight!
See the rib bones exposed by about 1/2"? These ribs were nearly perfectly cooked!
Mark as complete
7.
Final Smoke, Sauce & Cut
After your ribs are returned to the grill for the final "1" of the 2-1-1 you'll need to go prepare your barbecue sauce. Here's my quick and tangy recipe using Sweet Baby Rays.
In a mixing bowl add the Sweet Baby Rays, the Crystal Hot Sauce and the Red Wine Vinegar, whisk to incorporate.
OPTIONAL TRICKS/TIPS
I make a version of this using Rice Vinegar and an equal amount of Pomegranate juice.
Since I am in the Deep South I primarily use Pecan Vinegar in my sauce mix but it's not available everywhere so I didn't include it in the ingredients!
For a spicy version of the basic sauce, double the Crystals or substitute 1 teaspoon of Cayenne for the second dose of Crystal.
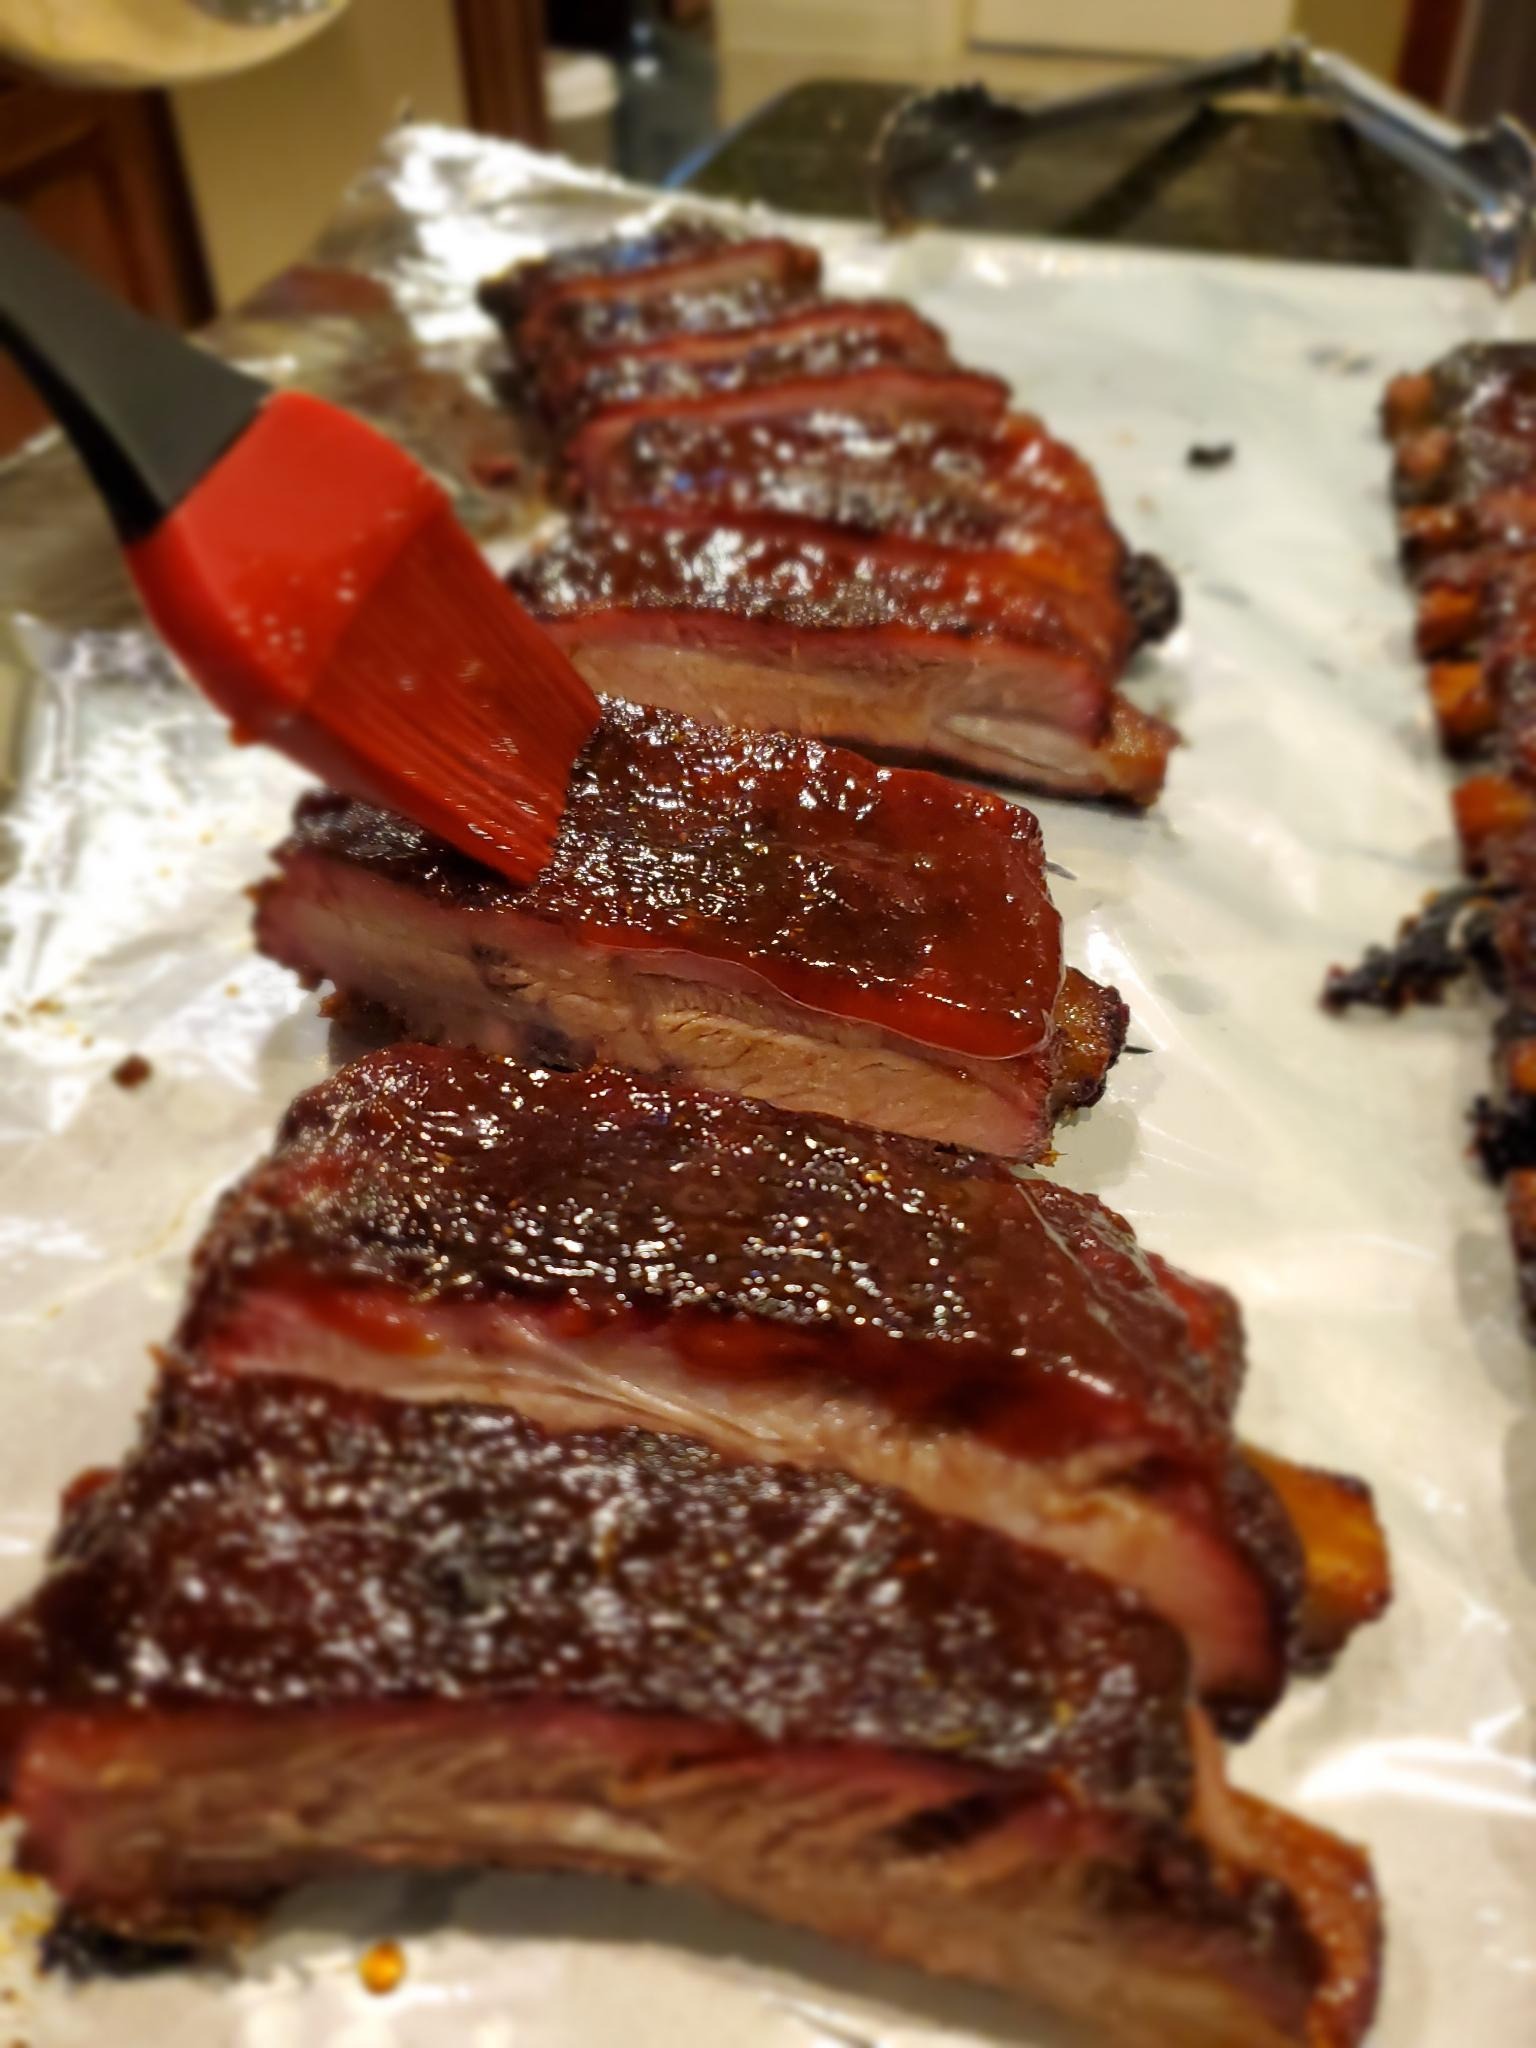
After YOU determine your ribs are perfectly cooked, slather the sauce on the ribs while they're on the grill. I like to use a silicone brush because it spreads so smoothly. You will want to play DaVinci and "paint" the sauce on from pole to pole with the bone direction NOT from end to end. Make sure you "paint" evenly and thoroughly!
Now cover your ribs up at the nominal heat we've been preaching about all day, add some more smoke wood, and let them take that smoke in for 15-20 minutes.
When you are ready to remove the ribs, be careful to to use too short of a spatula or paddle and grab the slabs whole so the don't fall apart on you.
IMPORTANT!!! Let your ribs stand at room temp for at LEAST 10 minutes preferably 15 minutes so the sauce can settle and the fat can begin to cool. This makes your cutting a LOT easier and more accurate.
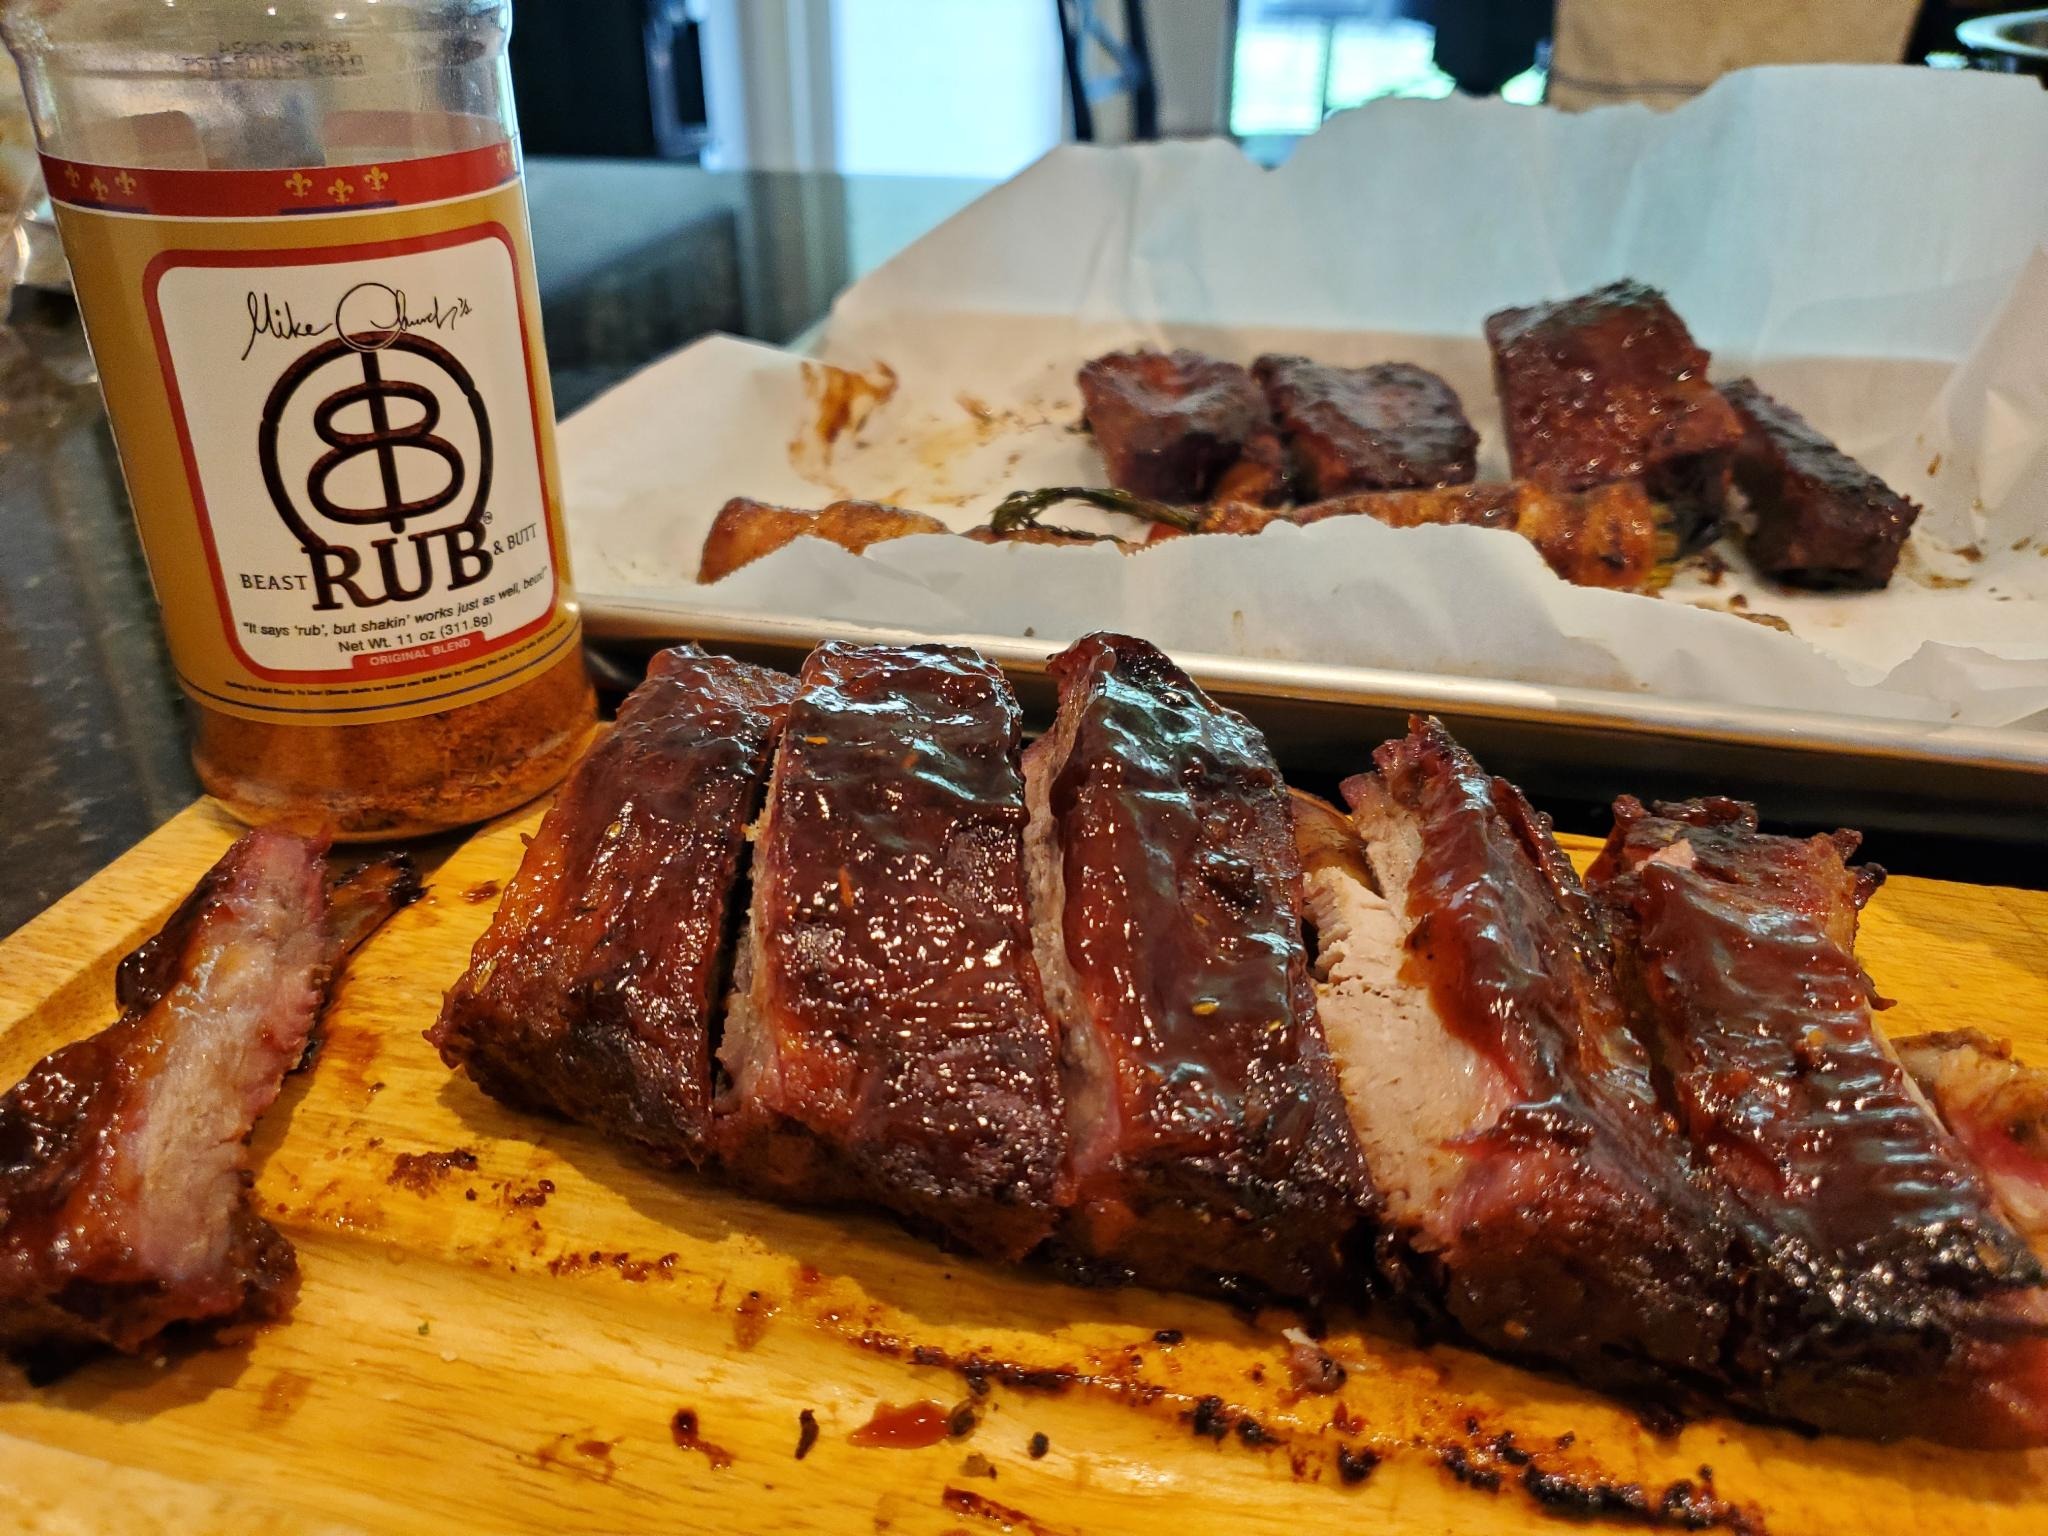
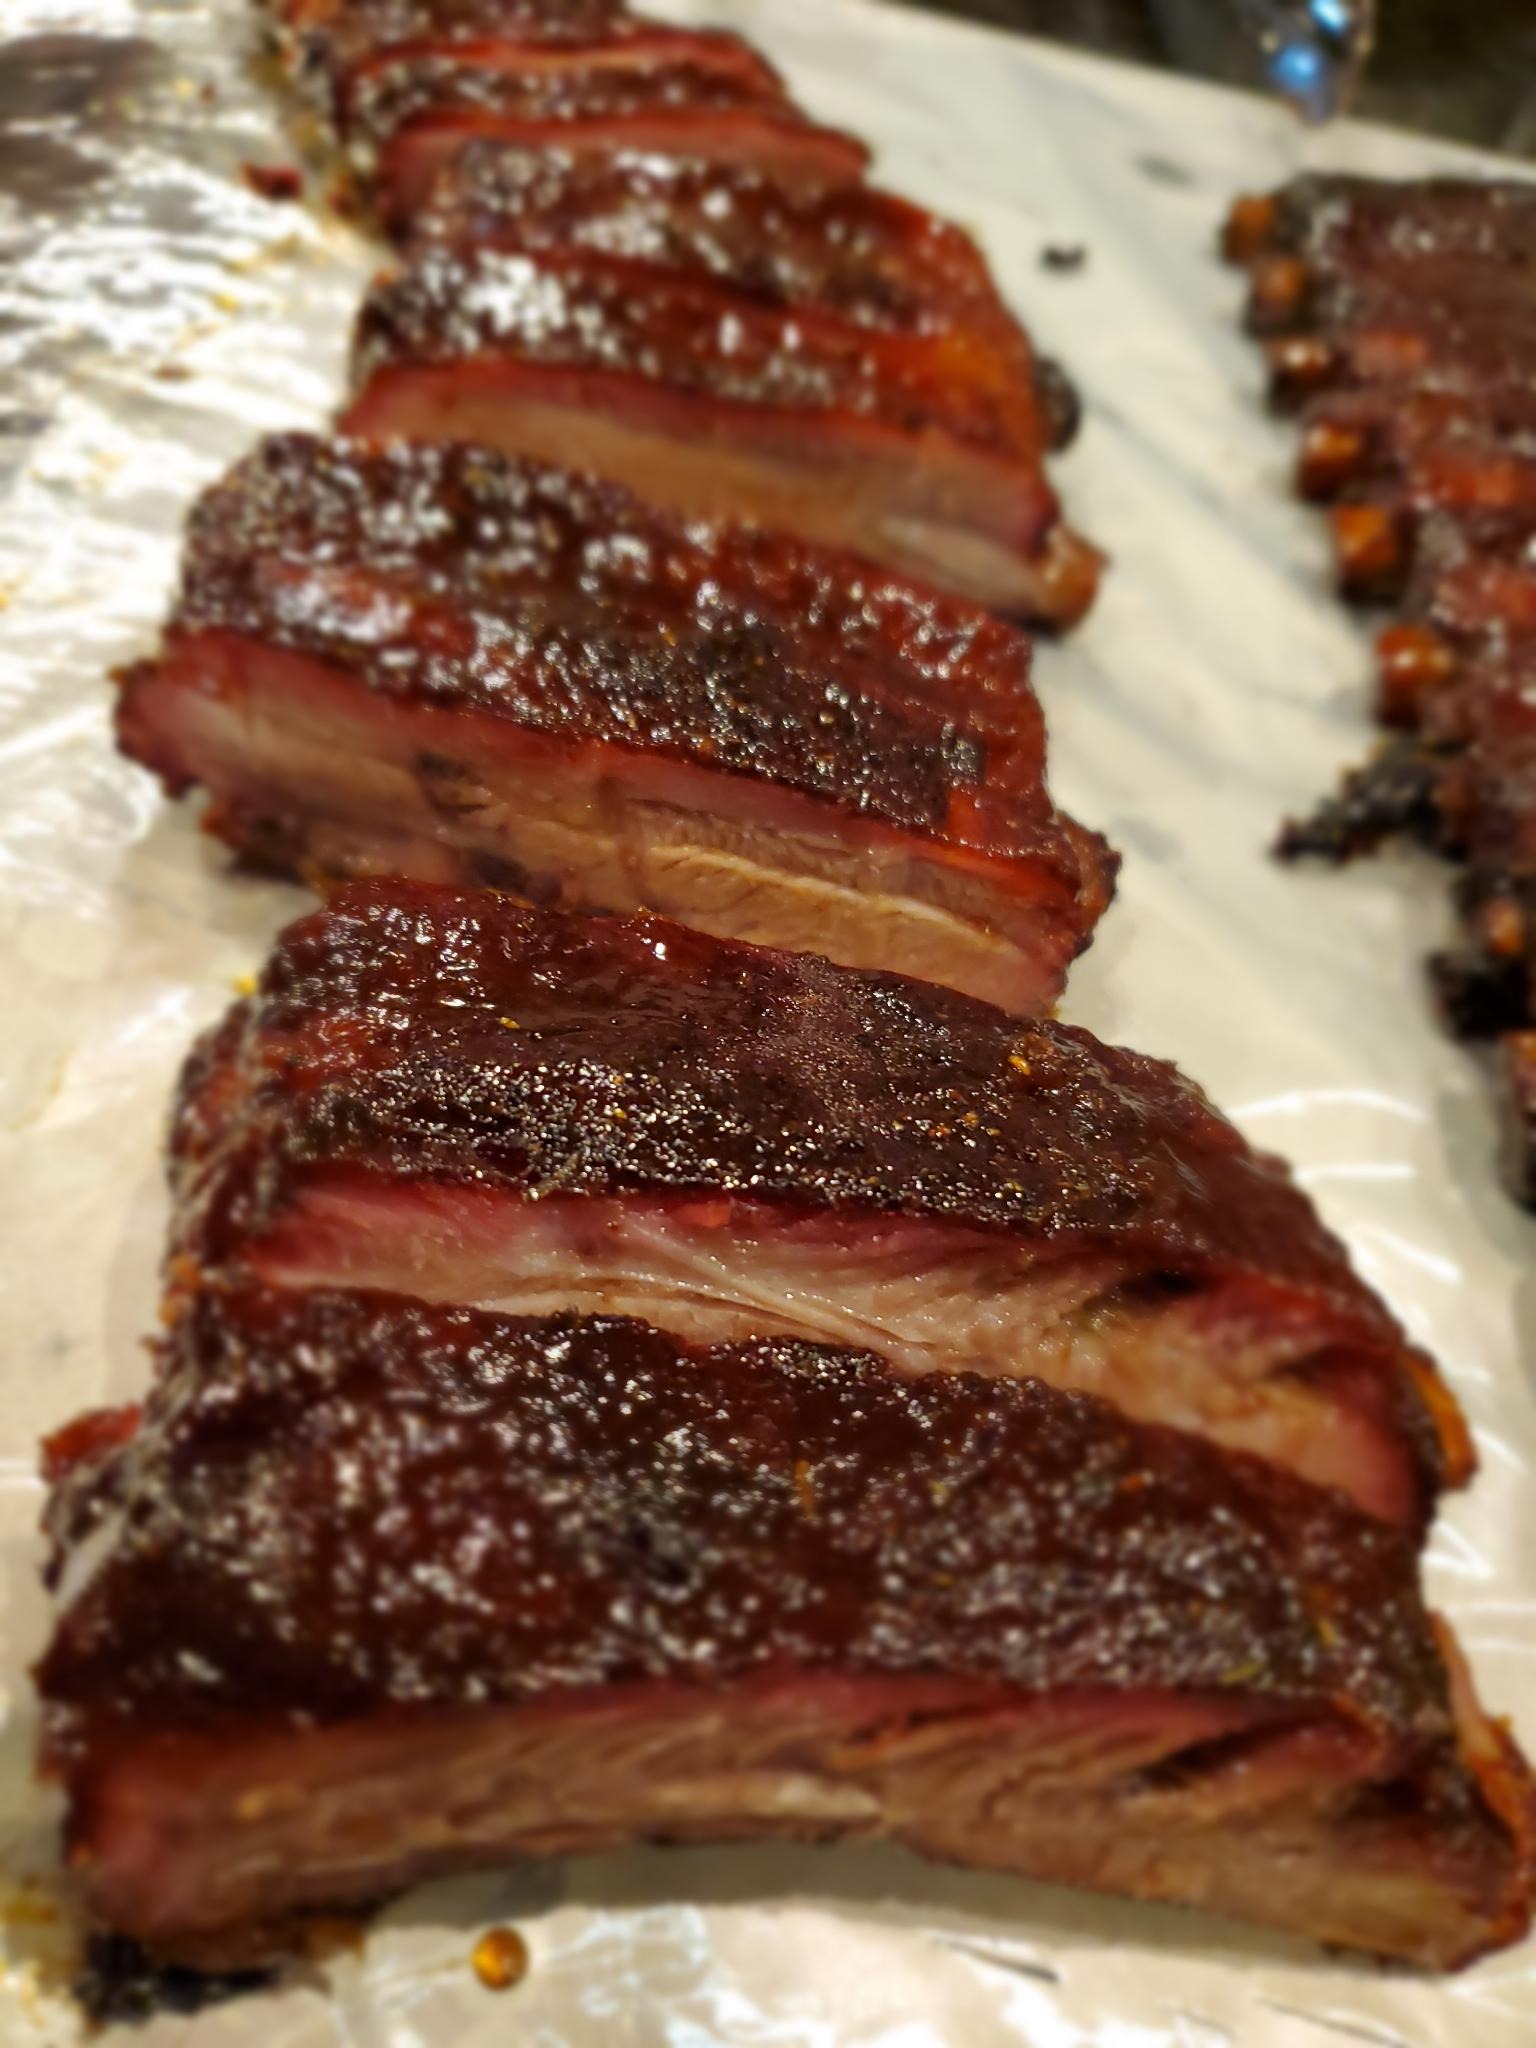
You will cut the ribs beginning at the LARGEST end; the first cut will be ON THE FAR SIDE OF THE FIRST BONE. The next cut will be on THE NEAR SIDE OF THE 3RD BONE!
Why!?
This gives you meat on either side of a rib bone, perfect for Uncle Bobo naw on on either side and much tastier too! Rinse and repeat and serve hot with extra sauce on the side.
The photos below are recent rib cooks I did using this exact method which I have worked at with friends for 15 years now.
I pray your ribs are the best you've ever had and that you'll post your results below and share the cooking joy of using Beast And Butt Rub with friends and family, it's why we made and packaged the Rub to begin with.
God bless and Mary keep y'all,
TKD
Mark as complete
Notes
TKD Pro Tip: you can trim the small knuckle part of the rib after cooking the ribs completely but i find it's better to do it before hand cause you get to save all the trimming for a pot of red beans and rice!
Try this also
Leave a Reply